
Manual IP Address Setup
In most cases, your device will automatically receive an IP address from the network (DHCP). However, in certain studio, enterprise, or isolated network environments, automatic configuration may not be available or desirable. In such situations, a manual IP address setup allows you to define the network parameters explicitly and establish a reliable connection.
Manual configuration is typically used when:
- The device is connected directly to a computer (without a router)
- The network does not provide DHCP services
- A fixed IP address is required for consistent system integration
- Troubleshooting network communication issues
Before proceeding, make sure you know the correct network parameters for your setup. Incorrect IP settings may prevent communication with the device or other network equipment.
Follow the instructions below carefully to ensure proper configuration and stable network operation.
Enable/Disable DHCP
To toggle the DHCP setting on your unit to either enabled or disabled, follow these steps:
- USB Connection: Begin by connecting your unit directly to your workstation using a USB cable. This step is crucial because altering network configurations might result in a loss of connectivity with your device. A direct USB connection will remain as a fallback for reconfiguration.
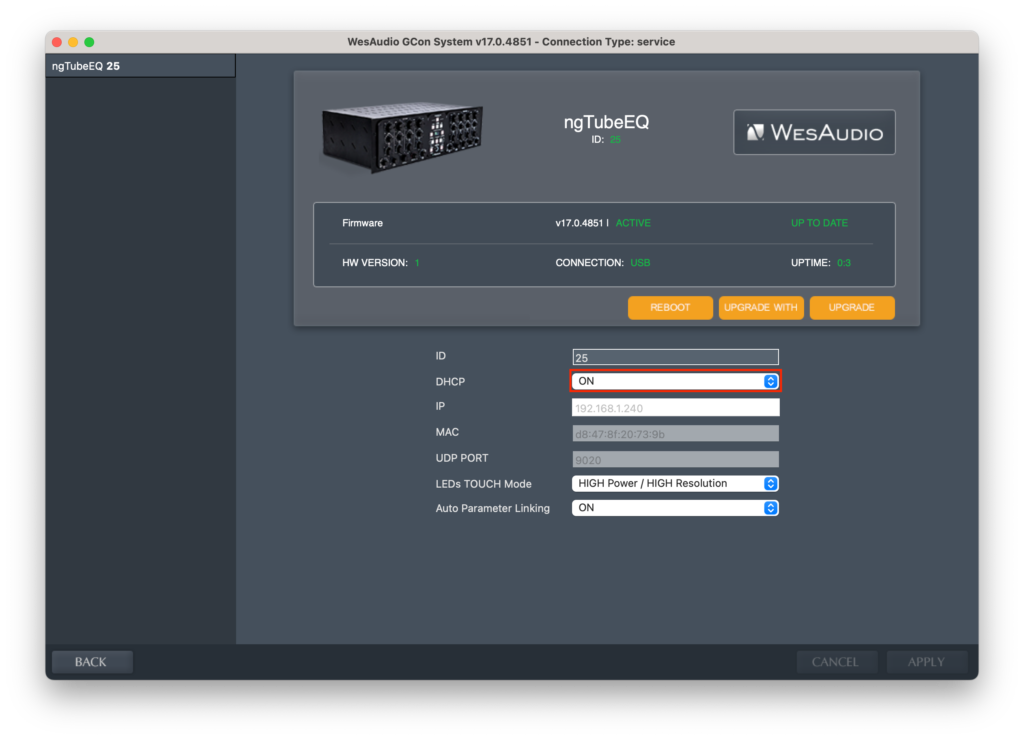
- Launch GConManager: Open the GConManager software and proceed to the _CONFIG application.
- Select Your Device: Within GConManager, find and select your unit from the list displayed in the elements tree on the left side.
- Adjust DHCP Setting: Modify the DHCP option to match your requirements—either turning it “ON” for automatic IP address assignment or “OFF” for static IP configuration. Following this adjustment, the unit will undergo a restart, after which your connection to the unit should automatically re-establish.
IMPORTANT: Before transitioning from a USB connection to Ethernet, it’s crucial to configure the appropriate IP address on your unit. This setup ensures seamless communication between the device and your network. The subsequent chapter will guide you through the process of establishing the correct IP settings.
Set Up Static IP Address
There are a few situations where manually configuring the IP address for your unit might be necessary:
- Non-DHCP Router: If your router does not support DHCP, you will need to manually set the IP address to ensure the unit can connect to the network.
- Manually Configured LAN: For networks set up with manual configurations, such as through a hardware switch, your unit will require a manual IP setup to match the network’s settings.
- Direct Workstation Connection: If you prefer to connect your unit directly to the Ethernet port on your workstation, a manual IP configuration is needed for the device to communicate effectively with your computer.
To configure the IP address for your unit, the process is similar to setting up other devices, with slight adjustments for device-specific steps. Here’s how you do it:
- USB Connection: Initially, connect your unit directly to your workstation using a USB cable. (If you’ve already established a connection to the unit via an Ethernet cable and can access its settings, this step might not be necessary).
- Launch GConManager: Open the GConManager software on your computer and proceed to the “_CONFIG” application.
- Select Your Device: From the device list on the left side of the screen, select your unit.
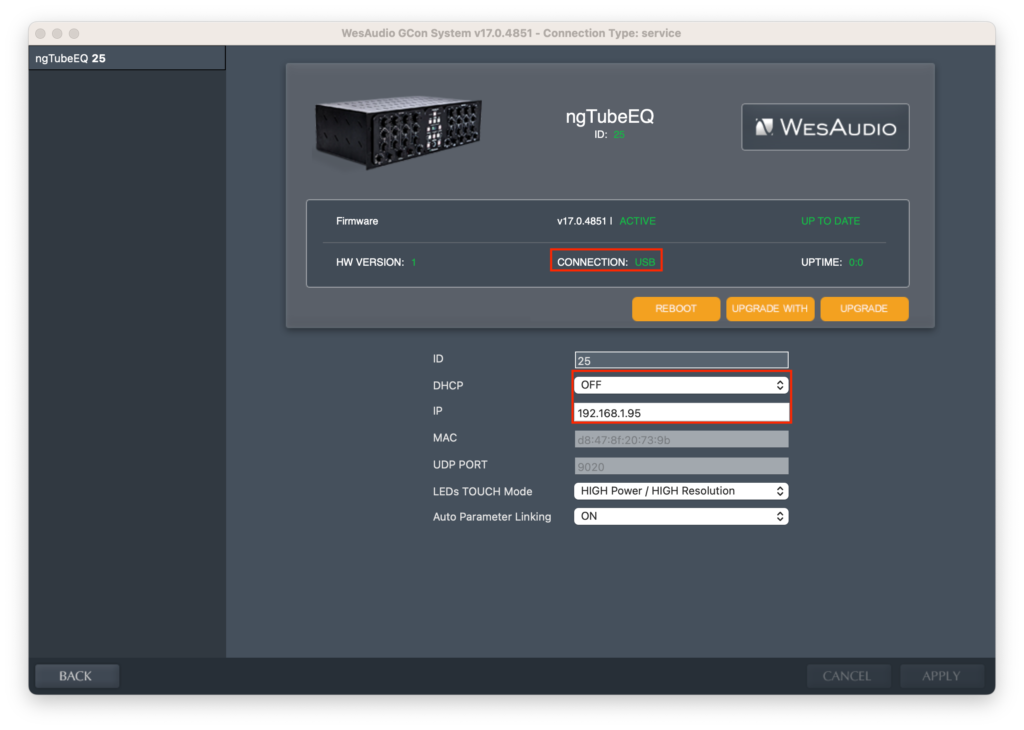
- Adjust DHCP Settings: If the DHCP option is enabled (“ON”), change it to “OFF.” This will necessitate a restart of the unit, after which the connection should automatically be re-established.
- Set the IP Address: Input the IP address you wish to assign to your unit in the provided field and press the ‘Apply’ button. The unit will undergo a restart to apply the new network settings. Once it powers back up, the connection with your unit will be re-established under the new IP configuration.
- After successfully configuring the IP address, you can now disconnect the USB cable from your unit and connect it to your network using an Ethernet cable. This will enable network-based communication and control according to the new settings you’ve applied.
Direct Connection – Setting IP Address on PC/MAC
Connecting your unit directly to a Mac or PC via Ethernet requires a few steps to ensure seamless communication. Here’s a concise tutorial to guide you through the process:
For Both Mac and PC
Step 1: Prepare Your Equipment
- Ensure you have a standard Ethernet cable available.
- Your unit should be powered off before making any connections.
Step 2: Connect the Ethernet Cable
- Plug one end of the Ethernet cable into the Ethernet port on your unit.
- Connect the other end of the Ethernet cable to the Ethernet port on your Mac or PC.
For Mac
Step 3: Configure Network Settings
- Go to System Preferences > Network.
- Select the Ethernet connection from the list on the left. If it’s not already configured, it may appear as a new connection with a green dot and say “Connected”.
- Click on the “Advanced” button, then go to the TCP/IP tab.
- Configure the IPv4 setting to “Manually” or “Using DHCP with manual address”, depending on your needs.
- If selecting “Manually”, enter the IP address that matches the network settings of your unit.
- Click “OK”, then “Apply” to save your settings.
For PC (Windows 10/11)
Step 4: Configure Network Settings
- Go to Settings > Network & Internet > Ethernet.
- Click on your Ethernet connection.
- Scroll down and select Edit under IP assignment.
- In the Edit IP settings drop-down, choose “Manual”.
- Enable “IPv4” by toggling it On, then fill in the IP address, Subnet mask, and Gateway based on your unit network settings.
- Click “Save” when done.
Final Step for both Mac and PC
- Power on your unit.
- Ensure any necessary software or drivers for unit operation over Ethernet are installed on your computer.
- If required, adjust the unit’s network settings to ensure they are compatible with your computer’s network configuration. This might include setting a static IP address on the unit that is in the same subnet as your computer but outside your DHCP range to avoid IP conflicts.
You should now be able to communicate directly between your unit and computer via Ethernet, allowing for device management and control without a router or network switch.