_Rhea
Where modern age meets vintage
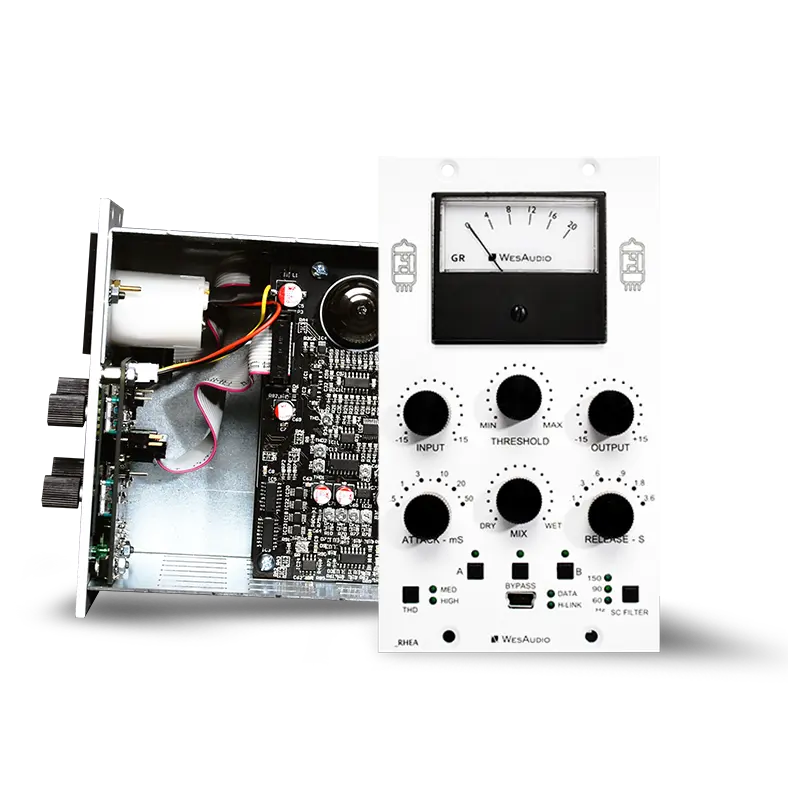
Stereo vari-mu tube compressor with digital recall
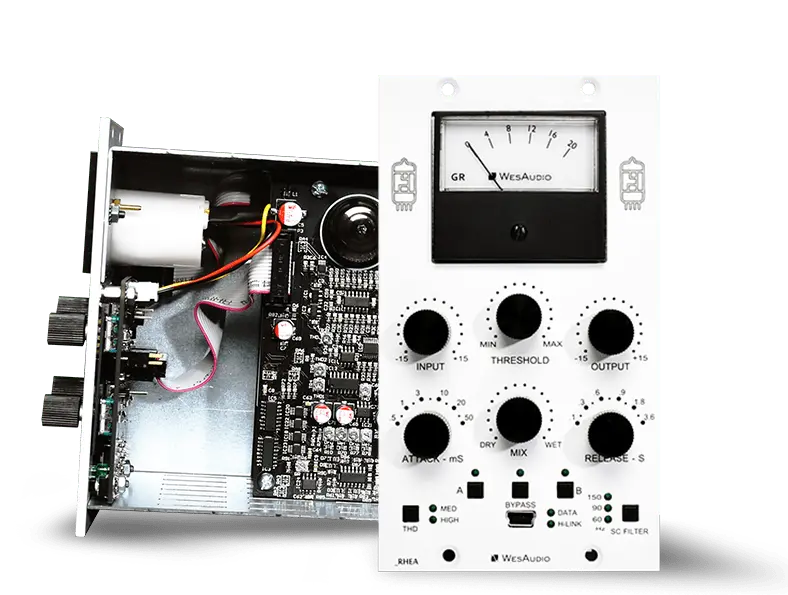
_Rhea
Fully analog, stereo vari-mu tube compressor with digital recall.

Package contents
| Device | x 1 |
| USB B mini cable | x 1 |
Main Features
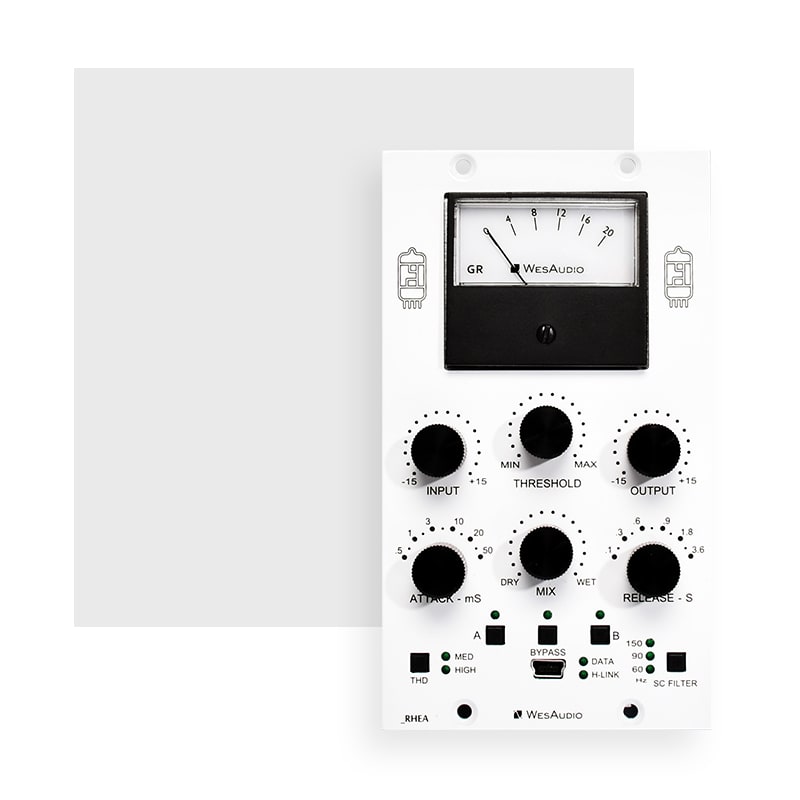
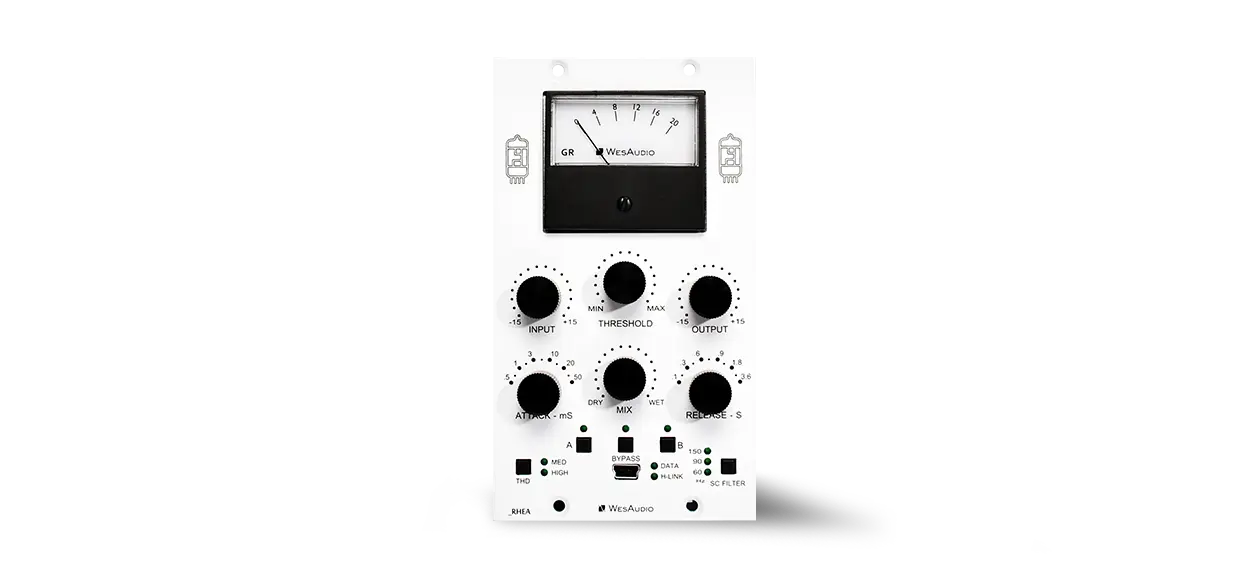
_RHEA stereo vari-mu tube compressor
ANALOG SOUND, DIGITAL CONTROL
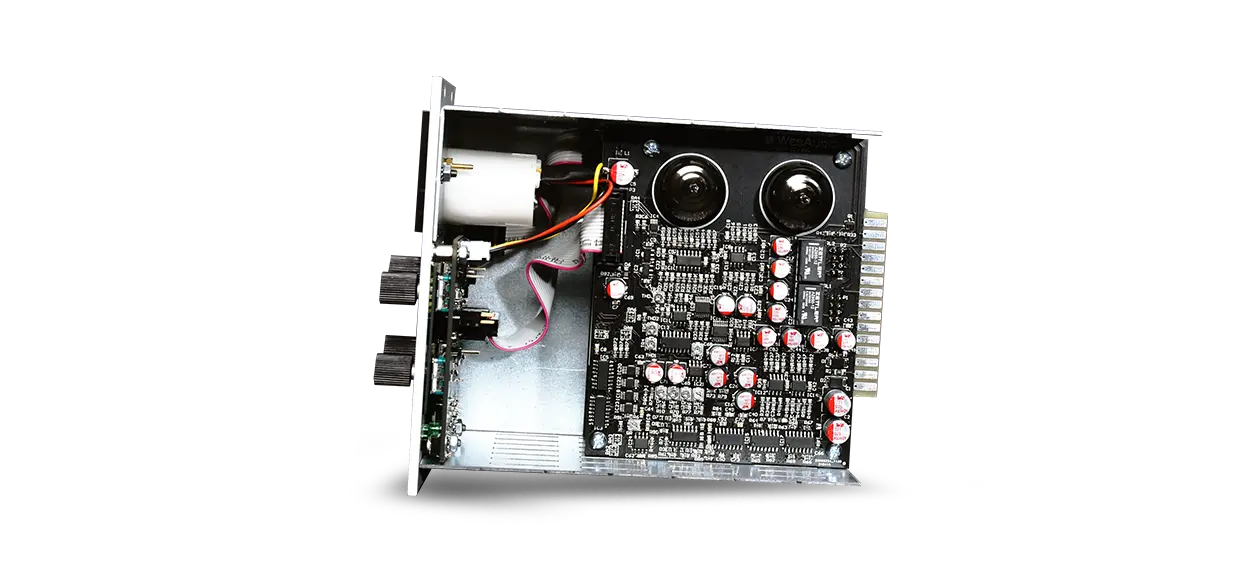
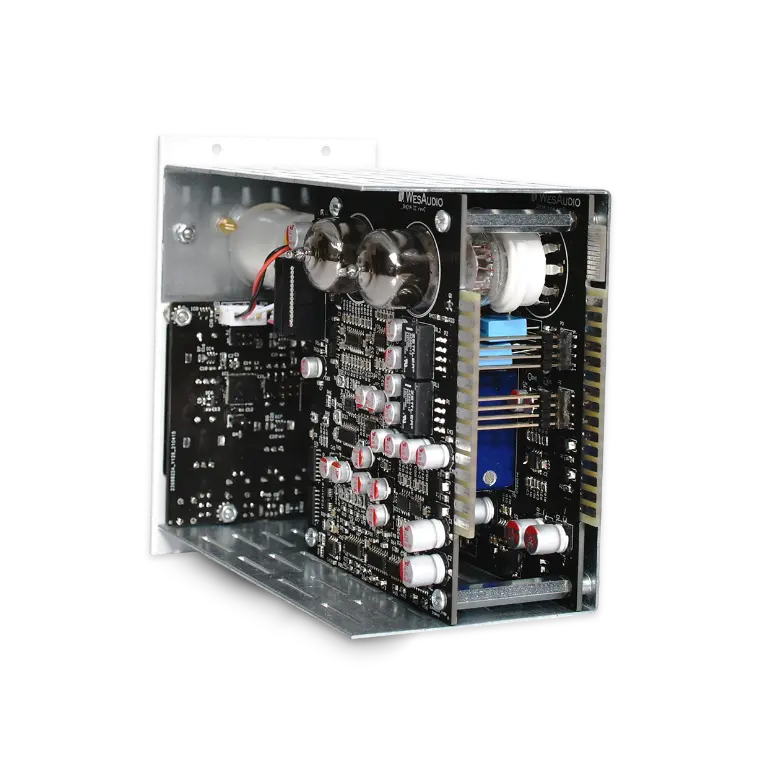
Regardless of its digital control features, _RHEA is a fully analog unit.
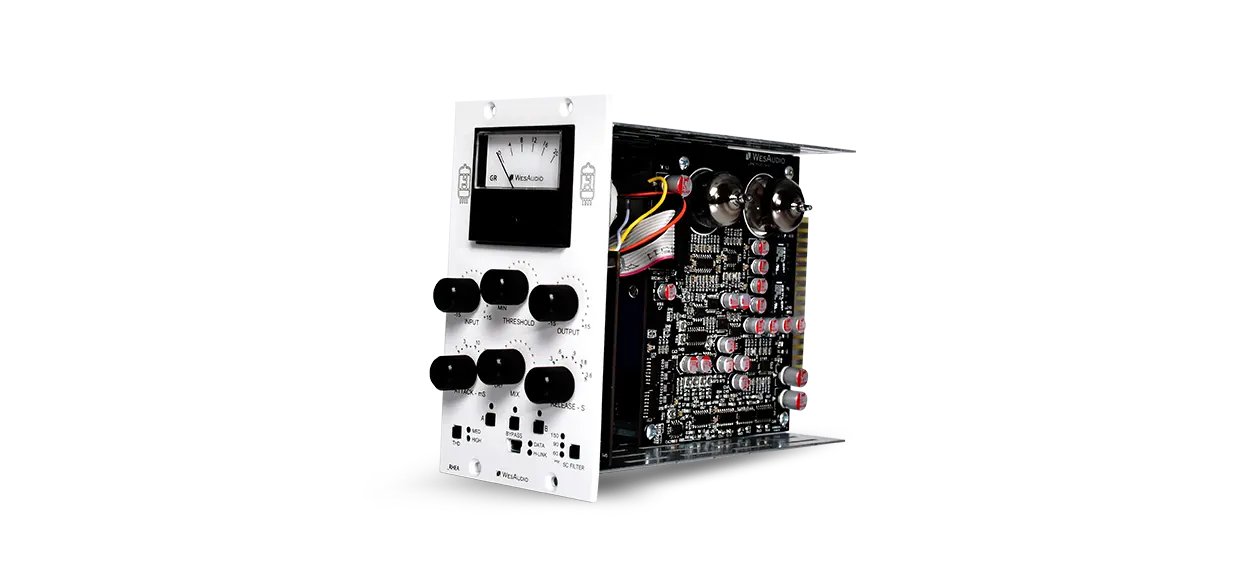
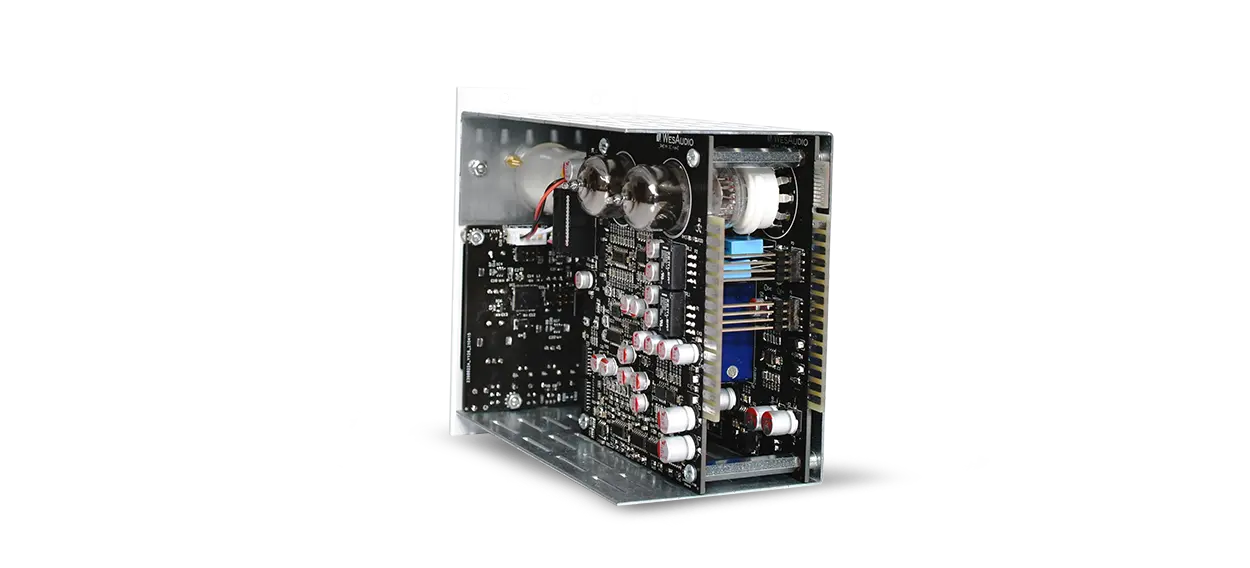
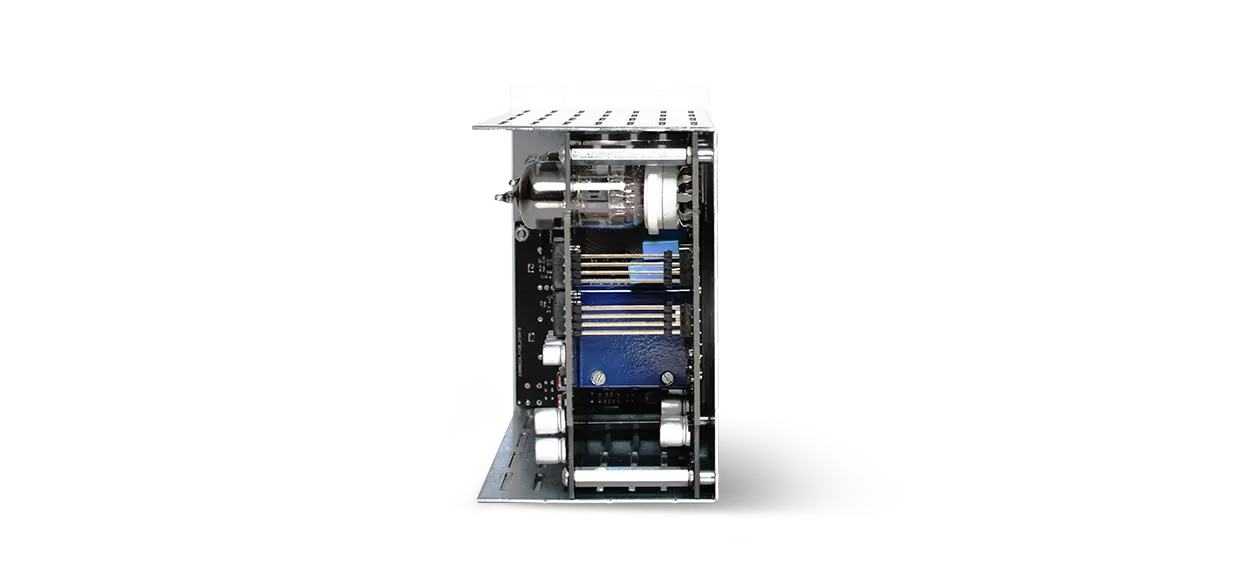
True Tube Compression
Interstage Transformers
To properly integrate tubes into modern audio levels, transformers play a key role just before the signal reaches the tubes, enhancing the process. This not only helps smooth the signal but also accentuates the low end, giving it a fuller, more pronounced sound.
Mix Knob for Parallel Compression
With the MIX knob, achieving parallel compression has never been easier!
With _RHEA, you can automate your MIX settings directly in your DAW. Ever wanted to push your compressor harder during the chorus? It’s simple—just record automation using the touch-sensitive encoder or draw your automation lines right in your DAW for precise control.
THD – Add Color to Your Mixes
Sidechain Filters
Compatible with 500 Series and ng500 Series
Despite its advanced features, _RHEA remains fully compatible with the standard 500 series*. Its digital functionalities can be accessed via the mini USB socket on the front panel.
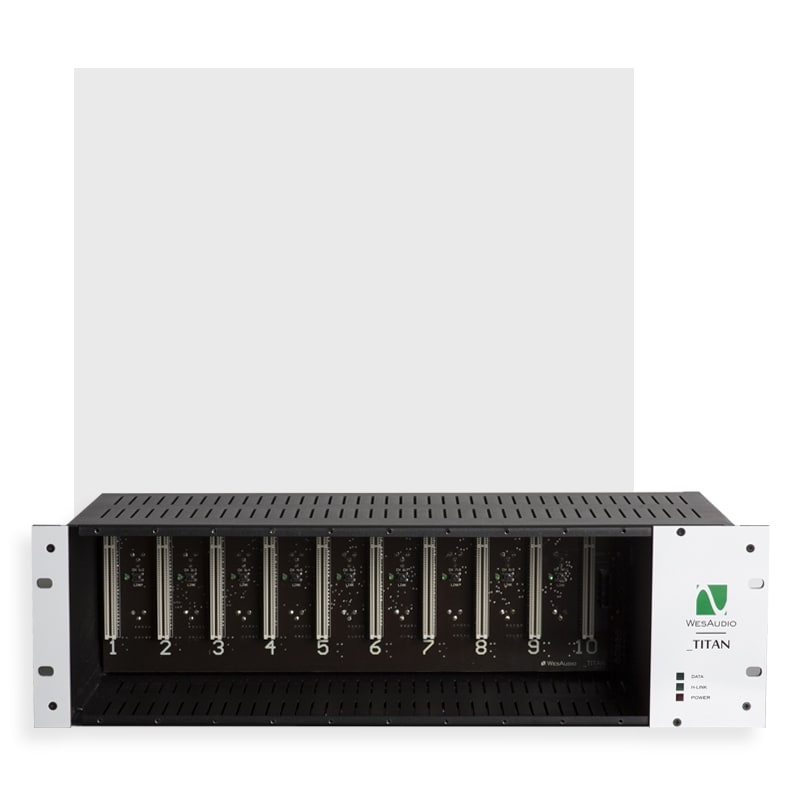
The ng500 (Next Generation 500 series) extends the capabilities of the traditional 500 series, making _RHEA fully compatible with the _TITAN frame. This allows control of all devices in the chassis using a single USB or Ethernet cable.
* Important note: ng500 represents an enhancement of the 500 series standard.
Hardware A/B
Even when using _RHEA as a purely analog signal processor, you can easily switch between two parallel settings with the simple press of a button, offering seamless transitions and flexibility in sound processing.
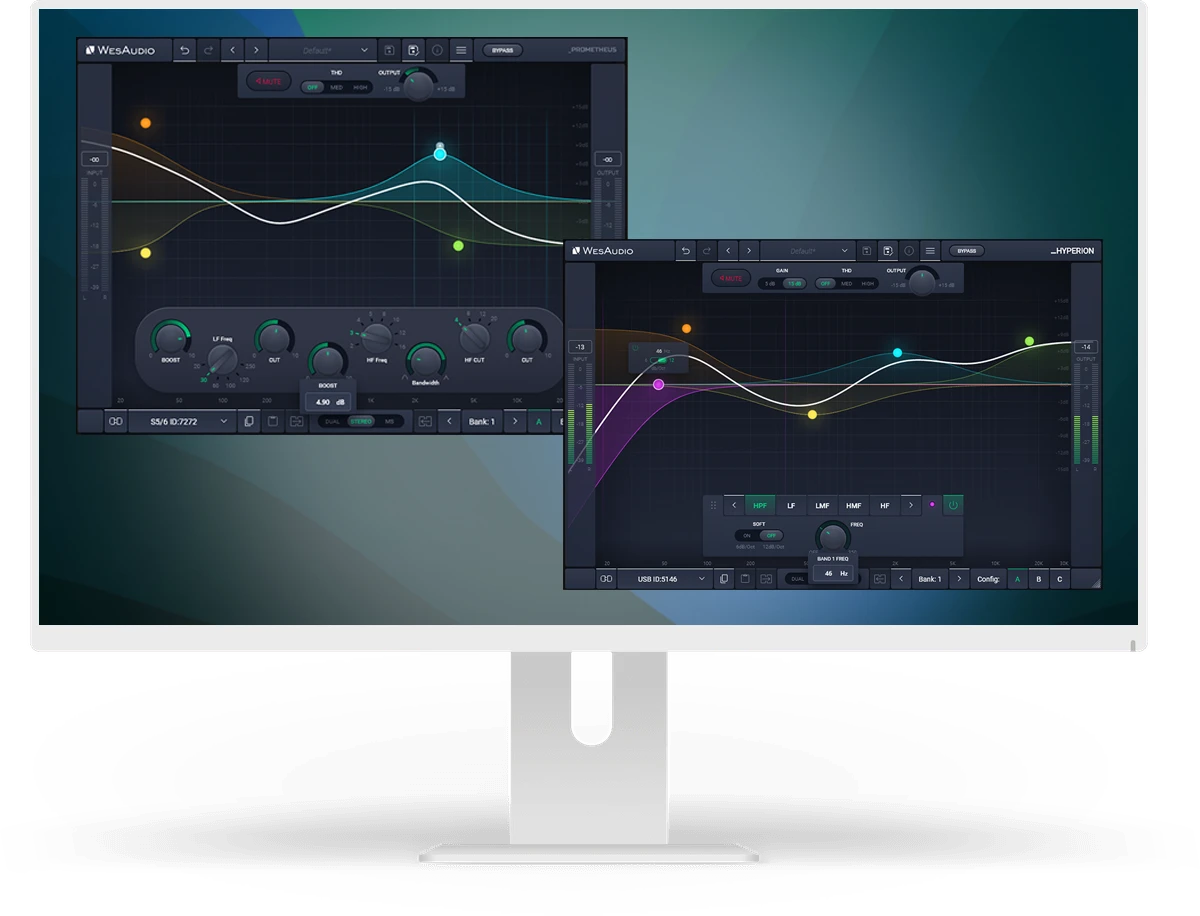
Total Recall and Plugin Control
Along with the classic analog compression, _RHEA offers one of the most highly requested features in the audio industry — TOTAL RECALL.
Complete plugin control via VST2, VST3, AU, AAX, and AAX DSP ensures _RHEA is compatible with nearly all major DAWs, providing seamless integration.
This total DAW integration will revolutionize your workflow, allowing for smooth recall of settings and effortless control within your digital environment.
Analog Automation
Main Features Summary:
Other Features:
APP FOR MAC AND PC
Digital control features for fully analog units.
Specification
_Rhea specification
| Frequency response | 10Hz-150kHz (-3dB) |
| THD+N < 0.03% (1kHz,0dBu) | no compression |
| THD+N >= 1% | at maximum compression level |
| Input impedance | 20kohm |
| Output impedance | < 100ohm |
| Max signal level | +24dBu |
| Crosstalk | < -80dB |
| THD (MID switch) | 1% |
| THD (HIGH switch) | 3% |
| Attack | 0.5,1,3,10,20,50 (ms) |
| Release | 0.1,0.3,0.6,0.9,1.8,3.6 (s) |
| SC Filter | 60,90,150 Hz |
| Power consumption | 190mA per rail |
| Dimensions | 76x133x158mm |
| Box dimensions | 105x162x234mm |
| Unit weight | 0.95 kg |
| Box weight | 1,2 kg |
| Warranty | 2 years |
User Manual
_RHEA VIDEO STORIES
Watch the product videos
FAQ
Frequently Asked Questions
There is no need to uninstall the WesAudio application before installing a new release. The update process will seamlessly overwrite the existing version.
To uninstall the WesAudio application, please follow the instructions below.
MacOS:
The WesAudio installation package includes a dedicated uninstaller.
Simply locate and run the WesAudio Uninstaller to remove the application from your system.
Windows:
-
Click Start on the taskbar.
-
Open Settings.
-
Select Applications from the left-side menu.
-
ClickInstalled applications.
-
In the search bar, type “WesAudio”.
-
Click the three dots on the right side.
-
Select Uninstall and follow the on-screen instructions.
If the module doesn’t react to any changes to the knobs on the front panel, the first necessary step is to rewrite firmware into the flash memory (Factory reset procedure re-writes firmware into internal flash memory – it doesn’t affect anyhow unit configuration). To proceed with factory reset, please follow below steps:
- Connect unit either:
- Through front panel USB socket,
- Or keep the unit in ng500 chassis – _TITAN, but please note that chassis has to be connected to the PC/MAC either via USB or Ethernet cable.
- POWER OFF your 500 series chassis.
- Depends on the product please press following front panel control:
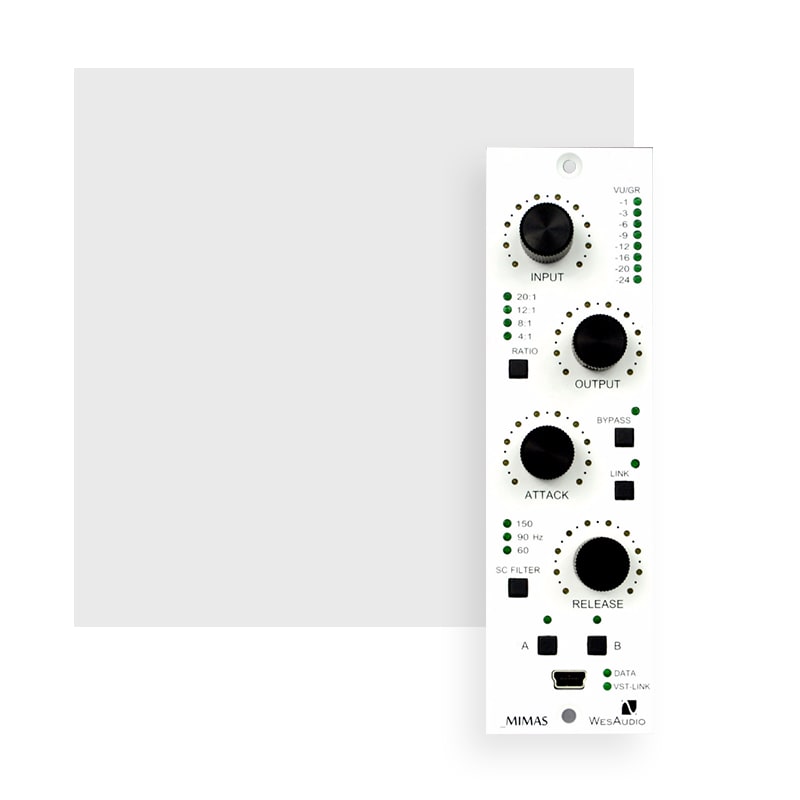
- _MIMAS – RATIO button,
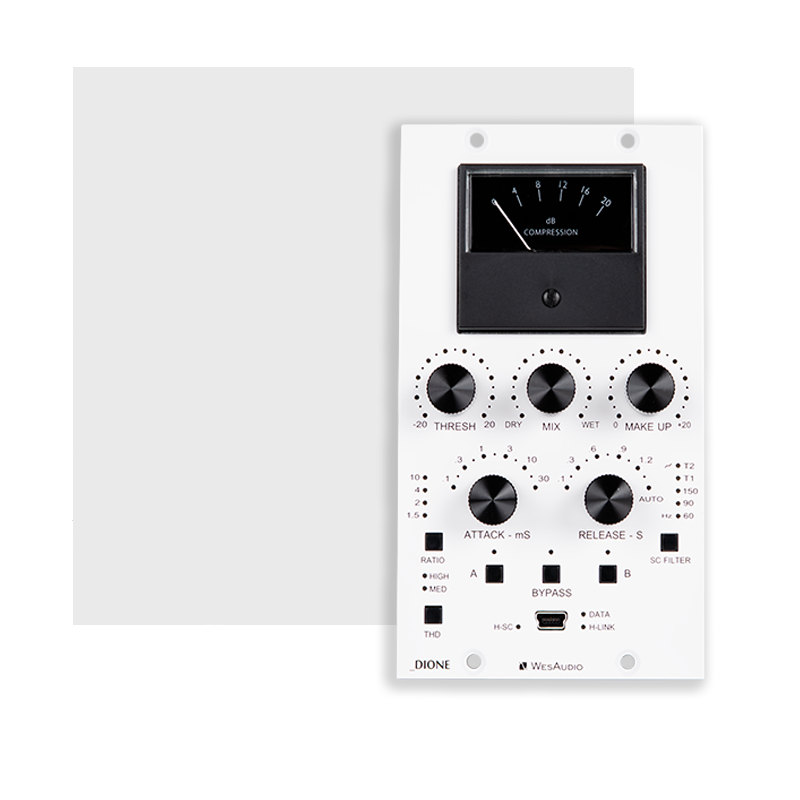
- _DIONE – RATIO button,
- _RHEA – THD button,
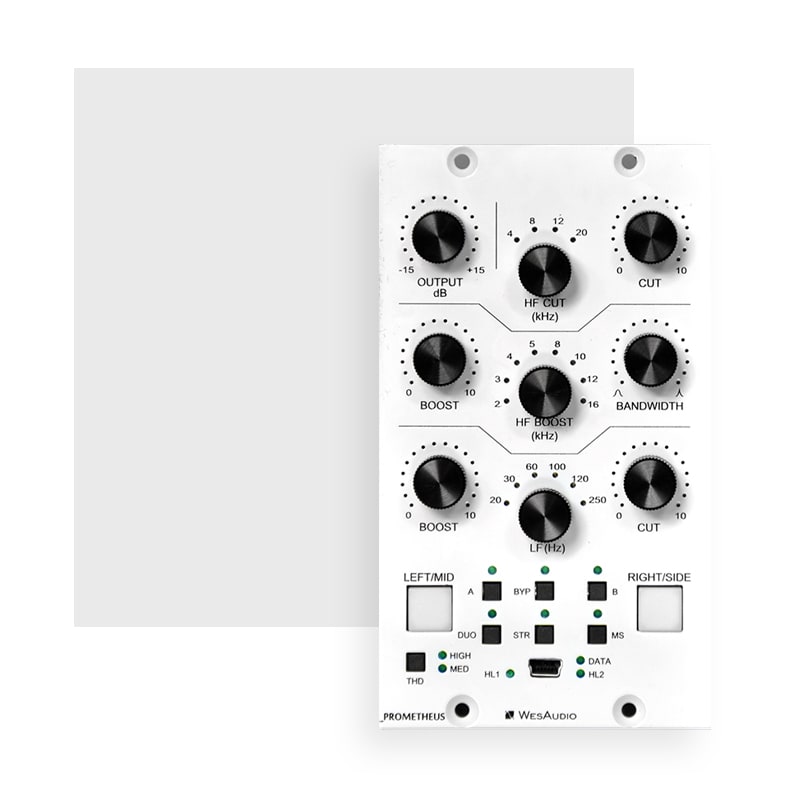
- _PROMETHEUS – HIGH CUT encoder (top-right encoder),
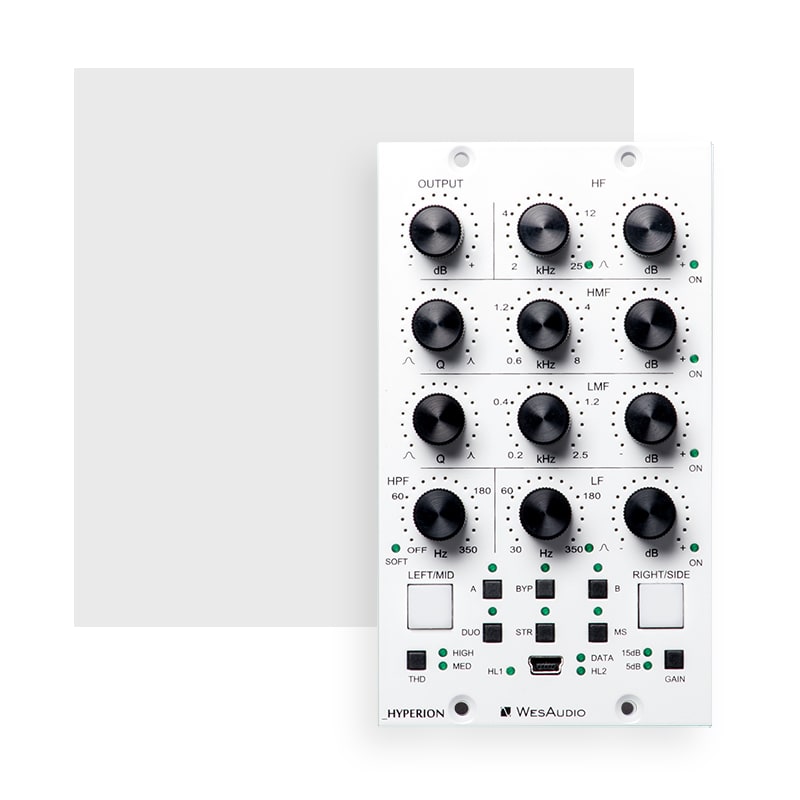
- _HYPERION – LMF GAIN encoder,
- _CALYPSO – MENU encoder,
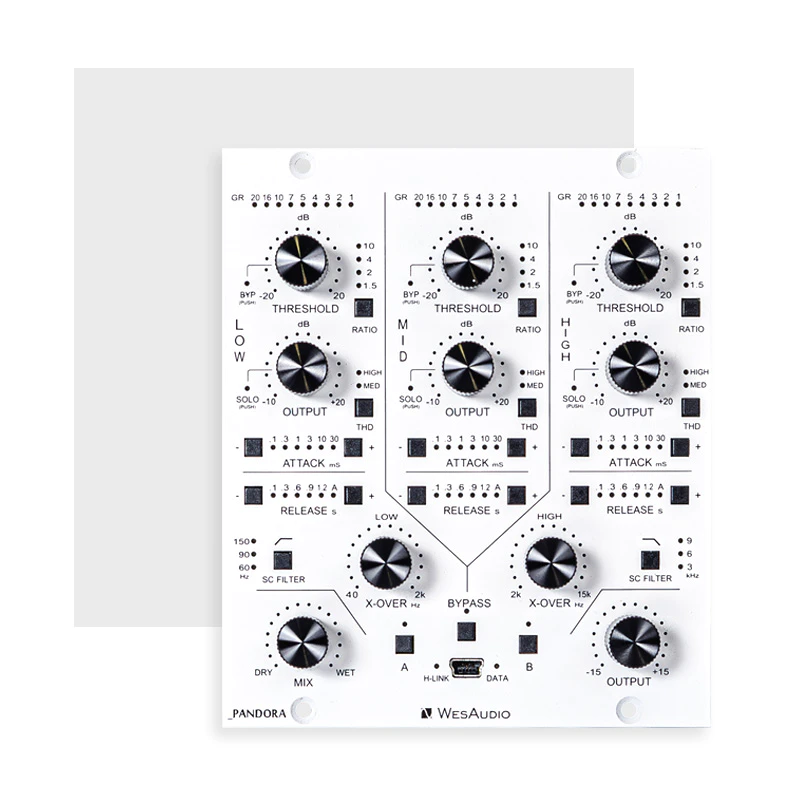
- _PANDORA – HIGH SC FILTER (right button).
- While keeping this control (button/encoder) pressed, POWER ON your 500 series chassis.
- LEDs should present a strange pattern.
- Now open GConManager:
- WIN: C:/Program Files (x86)/WesAudio/GConManager.exe
- MAC: /Applications/WesAudio/GConManager.app
- Or click on the WesAudio “Tray” icon, and select “Open GConManager”
- Go to _UPGRADE application.
- Hit start!
If the module doesn’t react to any changes to the knobs on the front panel, the first necessary step is to rewrite firmware into the flash memory (Factory reset procedure re-writes firmware into internal flash memory – it doesn’t affect anyhow unit configuration). To proceed with factory reset, please follow below steps:
- Connect the unit to either USB or Ethernet.
- POWER OFF your unit.
- Depends on the product please press following front panel control:
- ngBusComp – far left Ratio on Channel 1 (Ratio “-”),
- _TITAN – any LINK button between slot connectors,
- ngTubeEQ – THD encoder on Channel 1,
- ngTubeComp – Saturation encoder on Channel 1,
- ng76 – “IN MODE” button,
- ngLEVELER – use a small screwdriver and press button available on the rear panel via a small hole in the chassis.
- While keeping this control (button/encoder) pressed, POWER ON your unit.
- LEDs should present a strange pattern.
- Now open GConManager:
- WIN: C:/Program Files (x86)/WesAudio/GConManager.exe
- MAC: /Applications/WesAudio/GConManager.app
- Or click on the WesAudio “Tray” icon, and select “Open GConManager”
- Go to _UPGRADE application.
- Hit start!
This is a very common issue and in most cases the root cause lies in the connection of the unit and audio interface. If that happens it should be checked if audio interface input isn’t connected to the chassis input and if audio interface output isn’t connected to chassis output. As this initially would seem to be entirely wrong and shouldn’t work at all, as all our units implement “True Bypass” via relays, the unit will pass a signal when the bypass is engaged. The reason for that is that the relay is in fact hard wiring input to the output, and thus the unit will pass the signal, as it doesn’t go through any active circuit of the unit.
This is actually how it is supposed to work, so after the plug-in instance is created, please use a small triangle button which usually is on the bottom side of the plug-in and select proper HW ID from the drop down menu. If the drop down menu doesn’t list any hardware units, please check Your connectivity and other possible root causes in this FAQ.
This is a wide topic, and there may be at least several root causes, but there are few things that should be checked. However, the first and most important thing is to double check that GConManager doesn’t list this device in the _CONFIG app. If this is the case, it means that WesAudio unit can’t connect on the OS level, and some of the below steps may help:
- First of all double check if module connection is properly executed, this procedure is described here.
- USB specification indicates that USB 2.0 works up to 5 meters. This is however not entirely true, as it strongly depends on the peripherals that unit is connected to. Even if our modules are USB 2.0 compatible, your USB port could support USB 3.0 – USB is a backward compatible protocol, so it may be that USB 3.0 cable length limit should be considered which is 2 meters. We would recommend having a USB cable up to 2 meters to remove those limitations from the equation.
- USB HUB is very common root cause to those problems, if module can’t connect via HUB – just for the sake of the test, it is mandatory to connect unit directly to PC/MAC to verify if the problem isn’t caused by it.
- Please note any system warnings attached to “WesAudio Tray Icon”.
As USB controllers have limited capacity it could be a reason for random unit disconnection. Usually, it happens when a lot of USB devices are plugged into the PC/MAC. The usual behavior would be that the unit works normally, and after reboot it doesn’t, but it strongly depends on the OS implementation so exact reaction could be a little bit different. If this is suspected, just for the test, it would be good to disconnect most of the devices from the USB ports, reboot PC/MAC and double check the connectivity from stability point of view. If it leads to the conclusion that this is the root cause of the problem, we would recommend using a decent USB hub, and ideally a TB/USB dock station which tends to offload a lot of responsibilities from our PC/MAC.
If the unit was working fine, and suddenly it couldn’t connect (it is not visible in the GConManager _CONFIG app) that could lead to the conclusion that some devices were added to our USB line, and we could have problems with the USB controller inside PC/MAC. In that case please check the description in the above “Unit disconnects by itself”.
GConManager in Admin mode enables special functionalities which are used during WesAudio units calibration.
Starting from GCon 15, Admin mode can be activated through the GCon Manager app:
- Open the GCon Manager app.
- Navigate to Settings.
- Click the padlock icon to unlock the settings.
- Check the Admin Mode box to enable it.
Alternatively, Admin mode can be activated by following these instructions:
OSX:
- Please open terminal.
- Copy-Paste following command:
open /Applications/WesAudio/GConManager.app --args --admin
WINDOWS:
- Go to “START” and open “Command Line”.
- copy paste this command:
"c:\Program Files (x86)\WesAudio\GConManager.exe" --admin