ngOmniBox
Analog Mix & Master Processor
Next Generation Analog Mix & Master Processor with digital recall
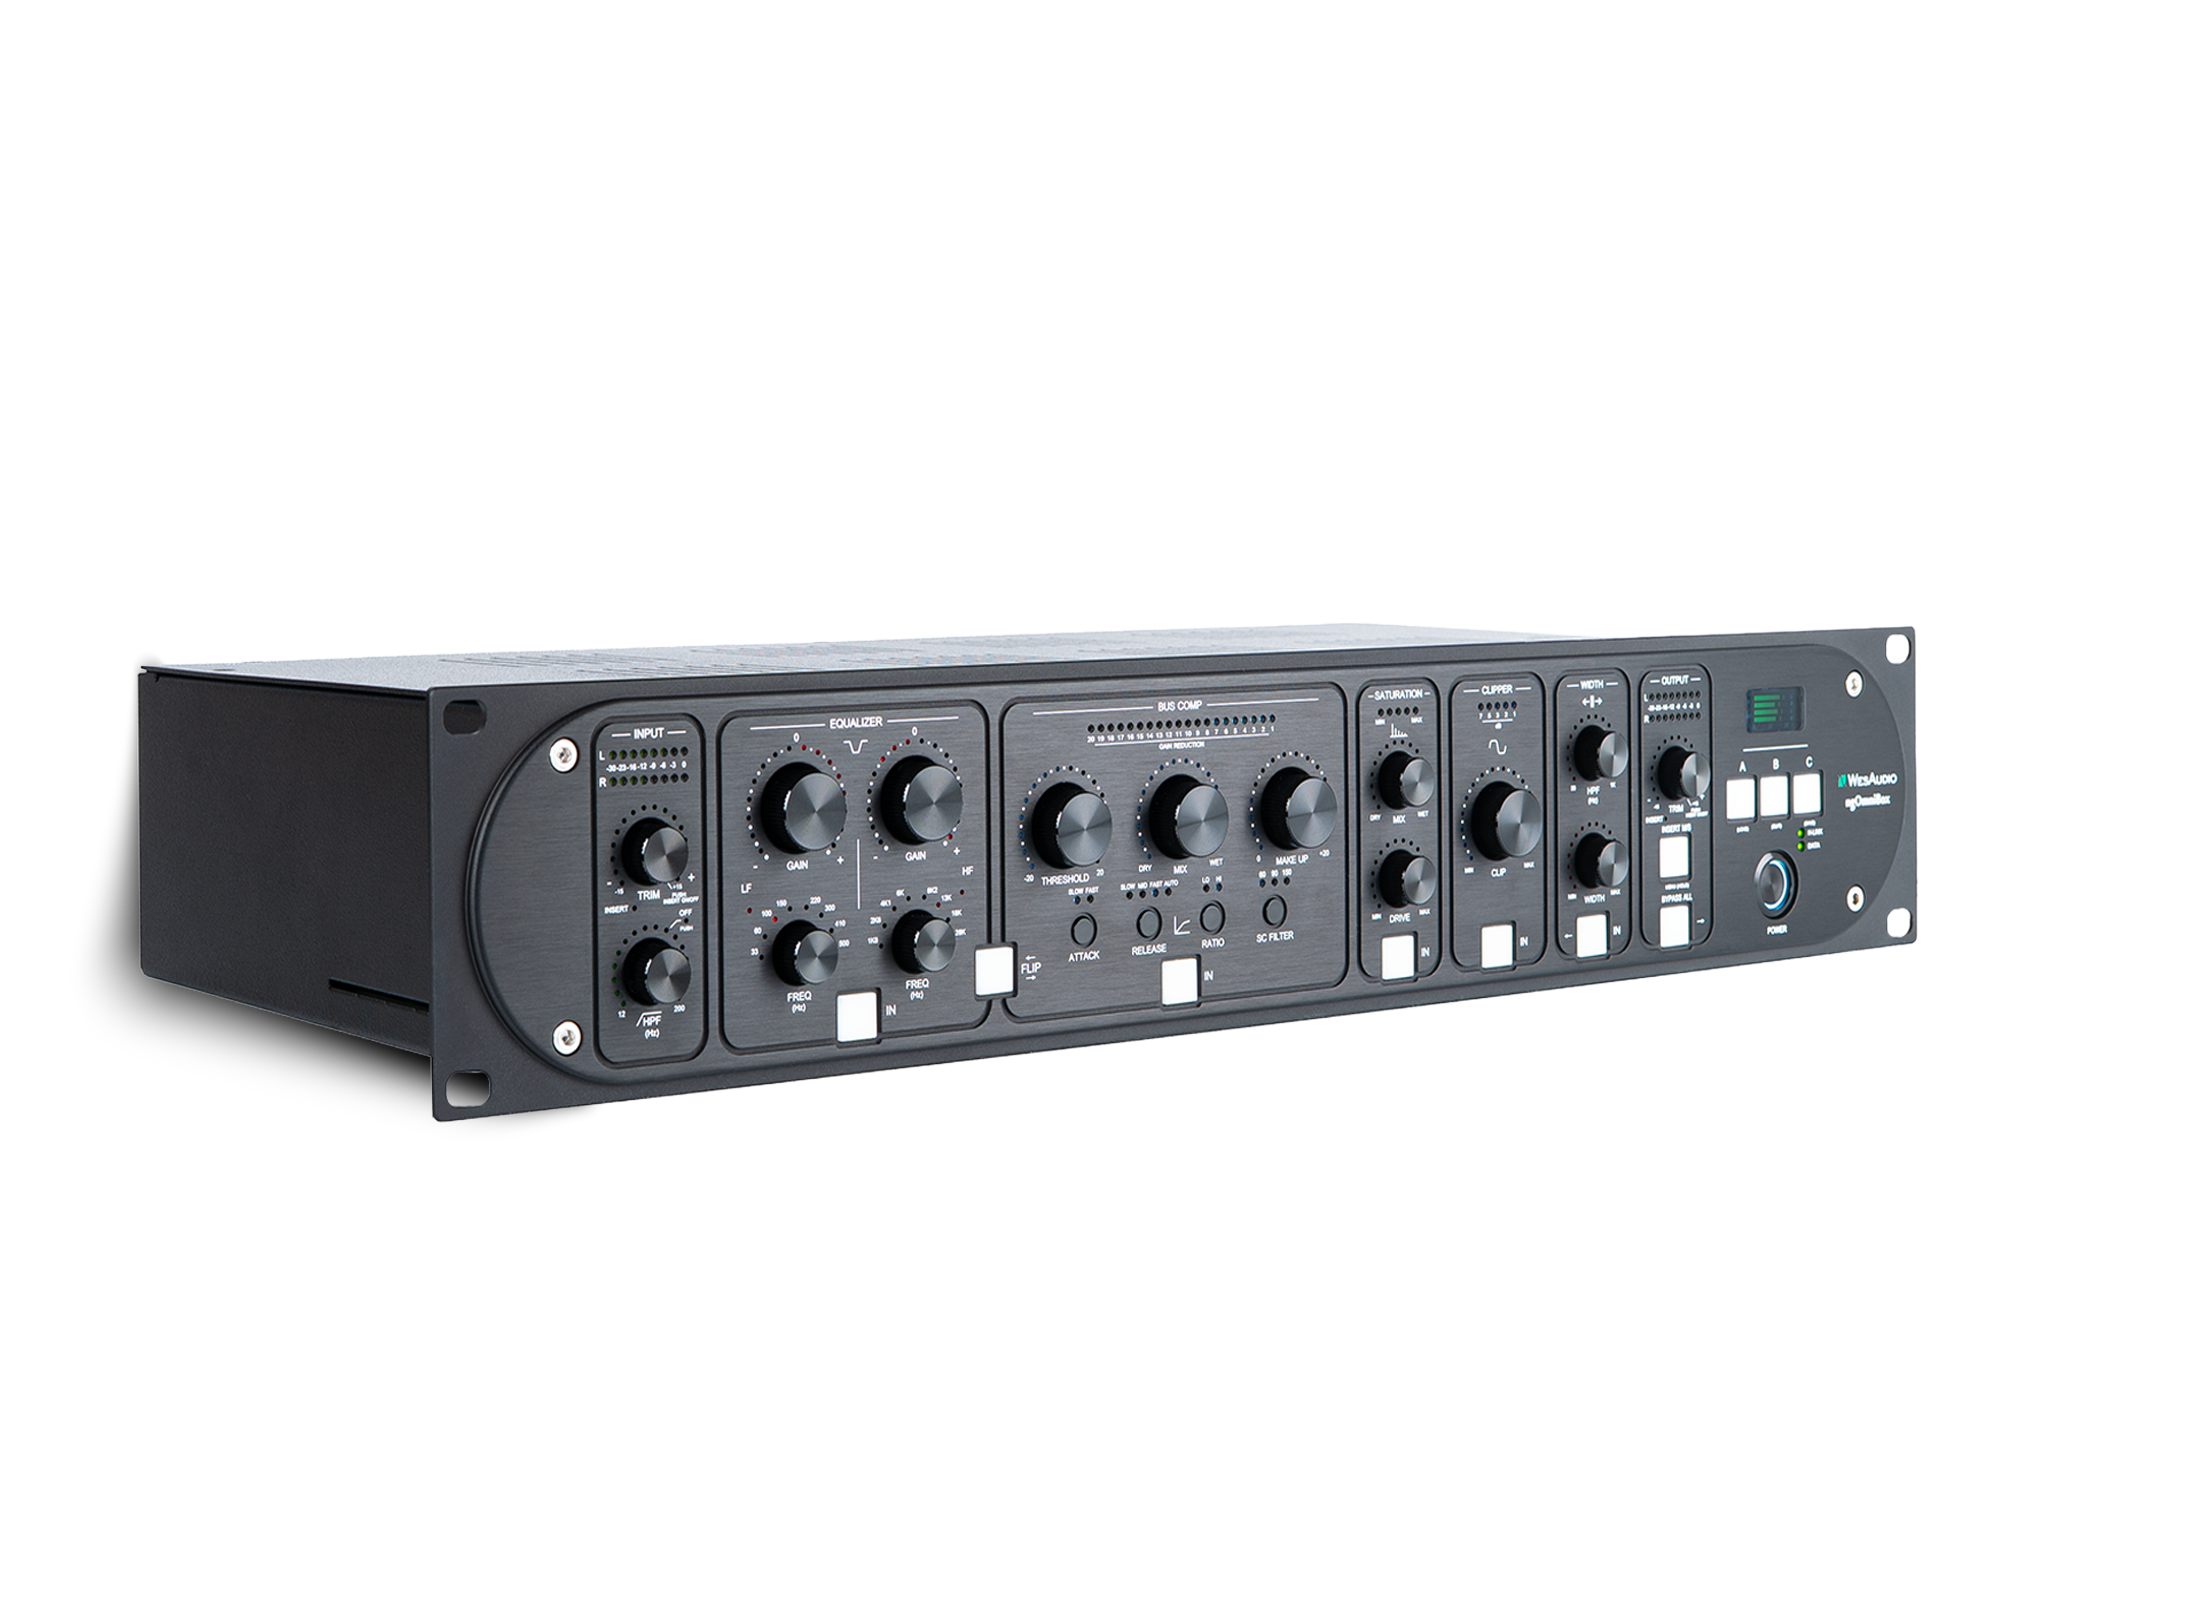
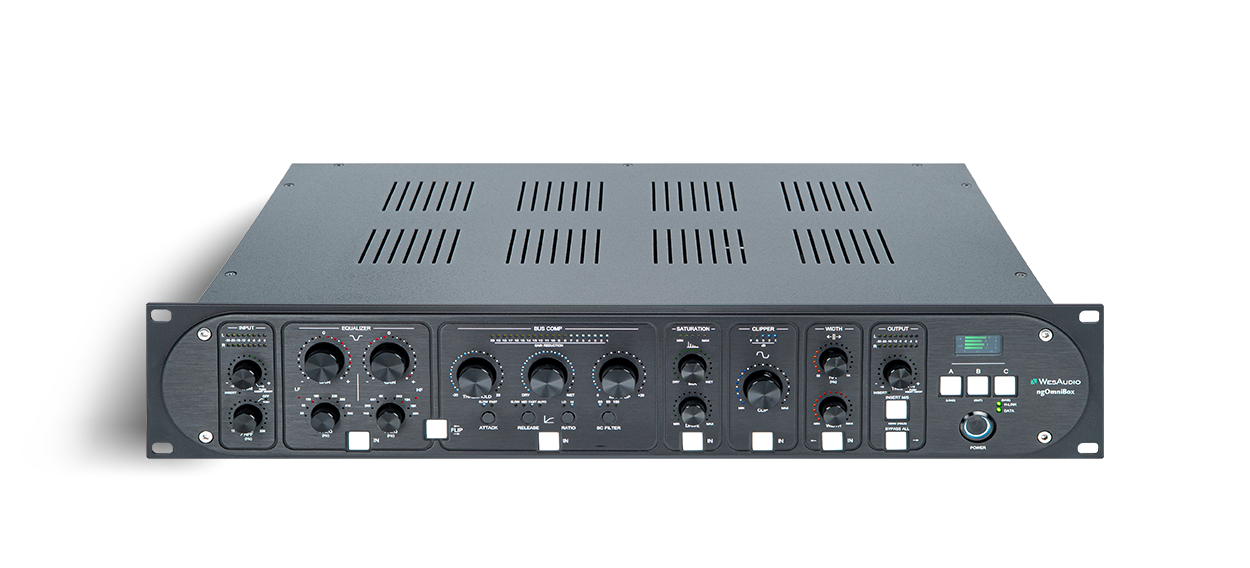
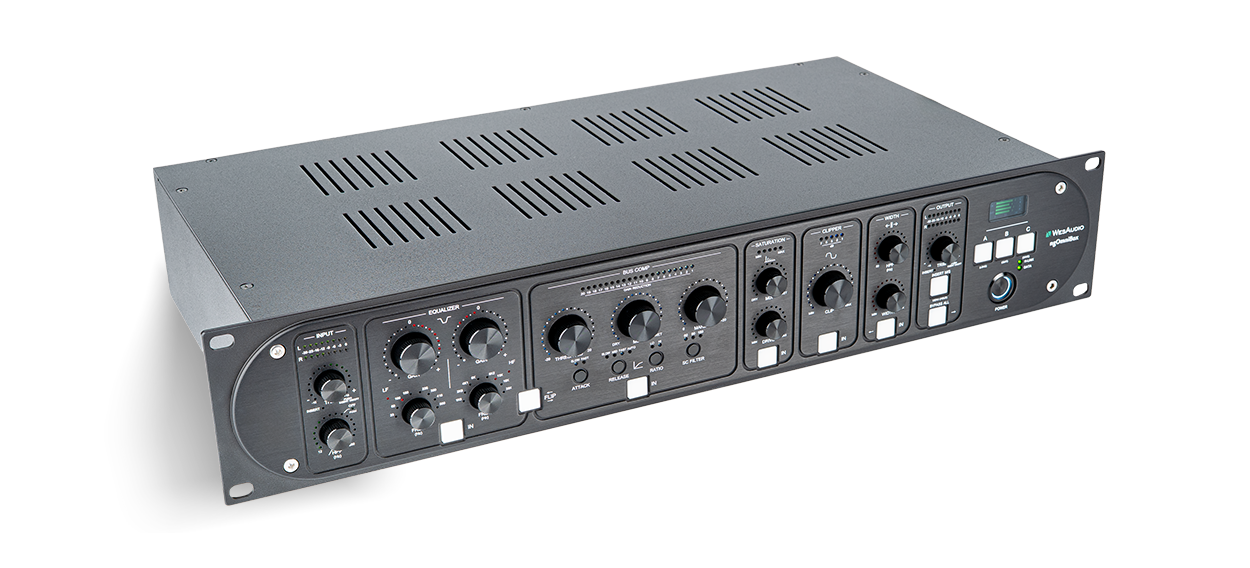
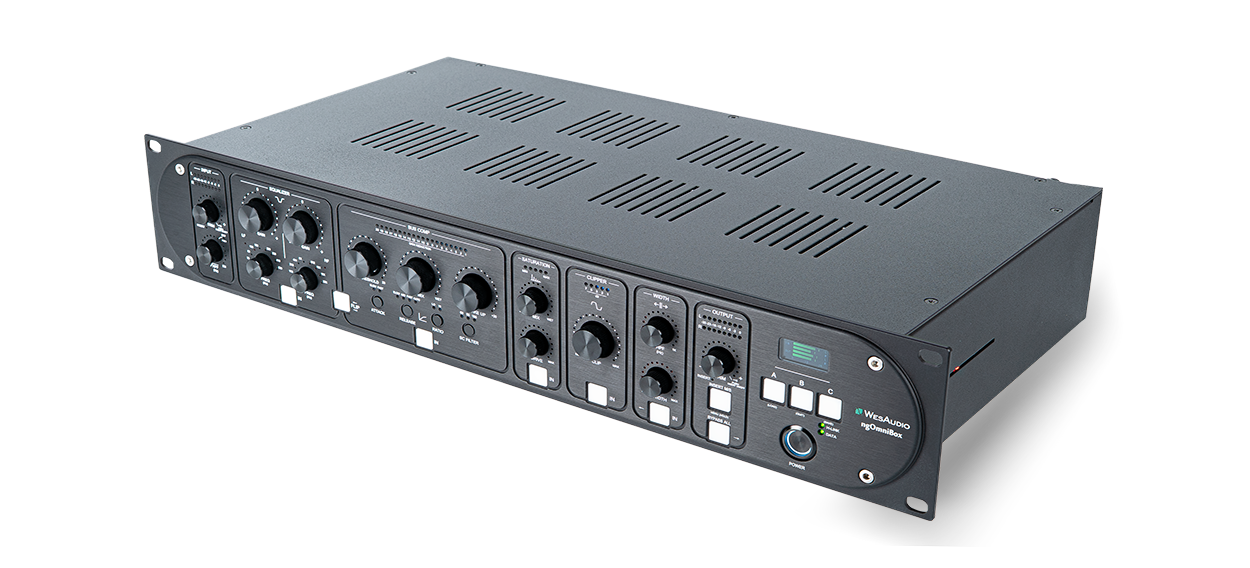
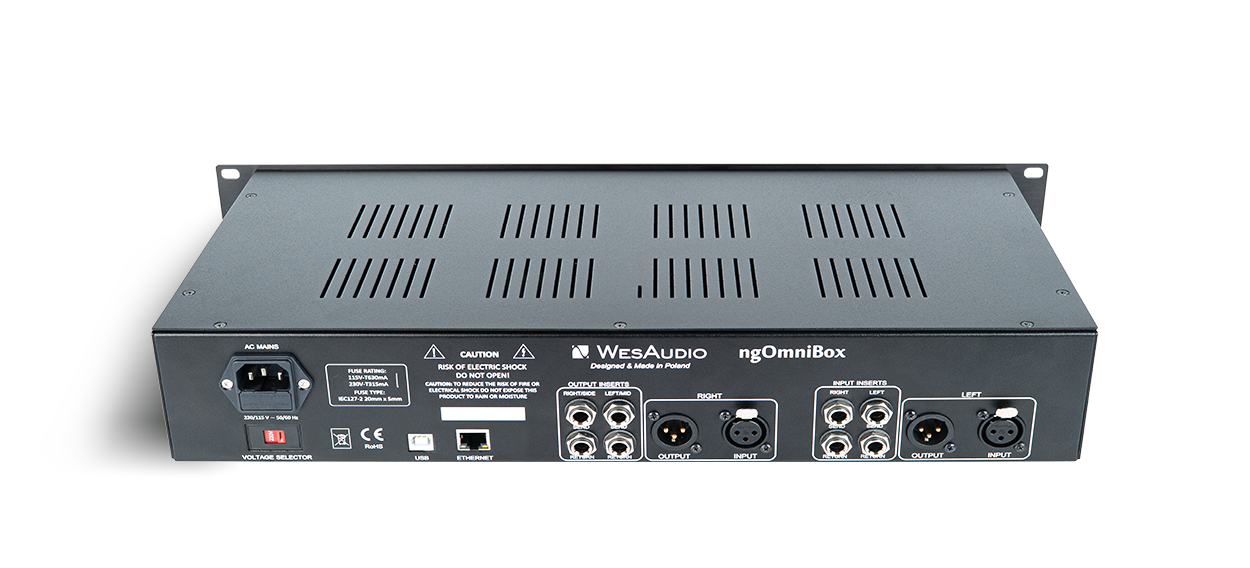
ngOmniBox
Next Generation Analog Mix & Master Processor with digital recall
For decades, engineers have built their mix and mastering chains around carefully selected analog processors – combining EQ, compression, saturation, clipping and stereo enhancement to shape the final sound.
ngOmniBox brings that entire workflow into a single, fully recallable analog processor.
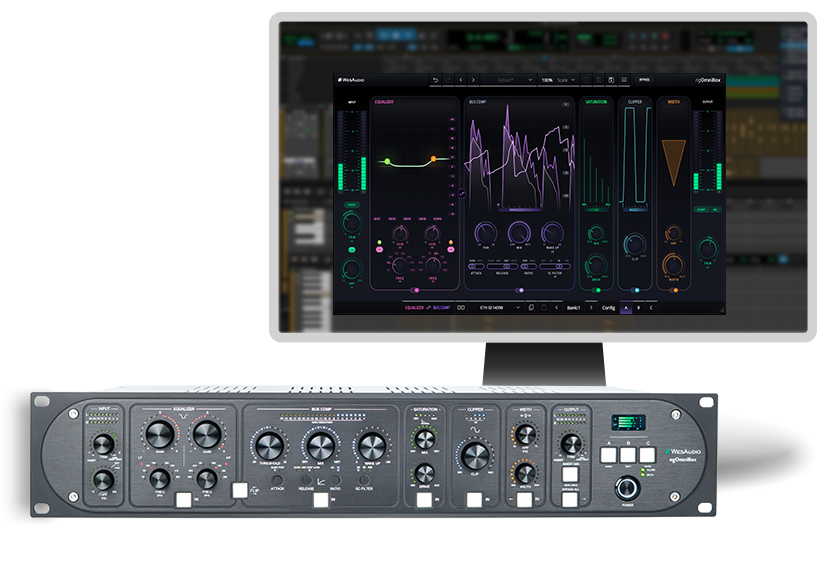
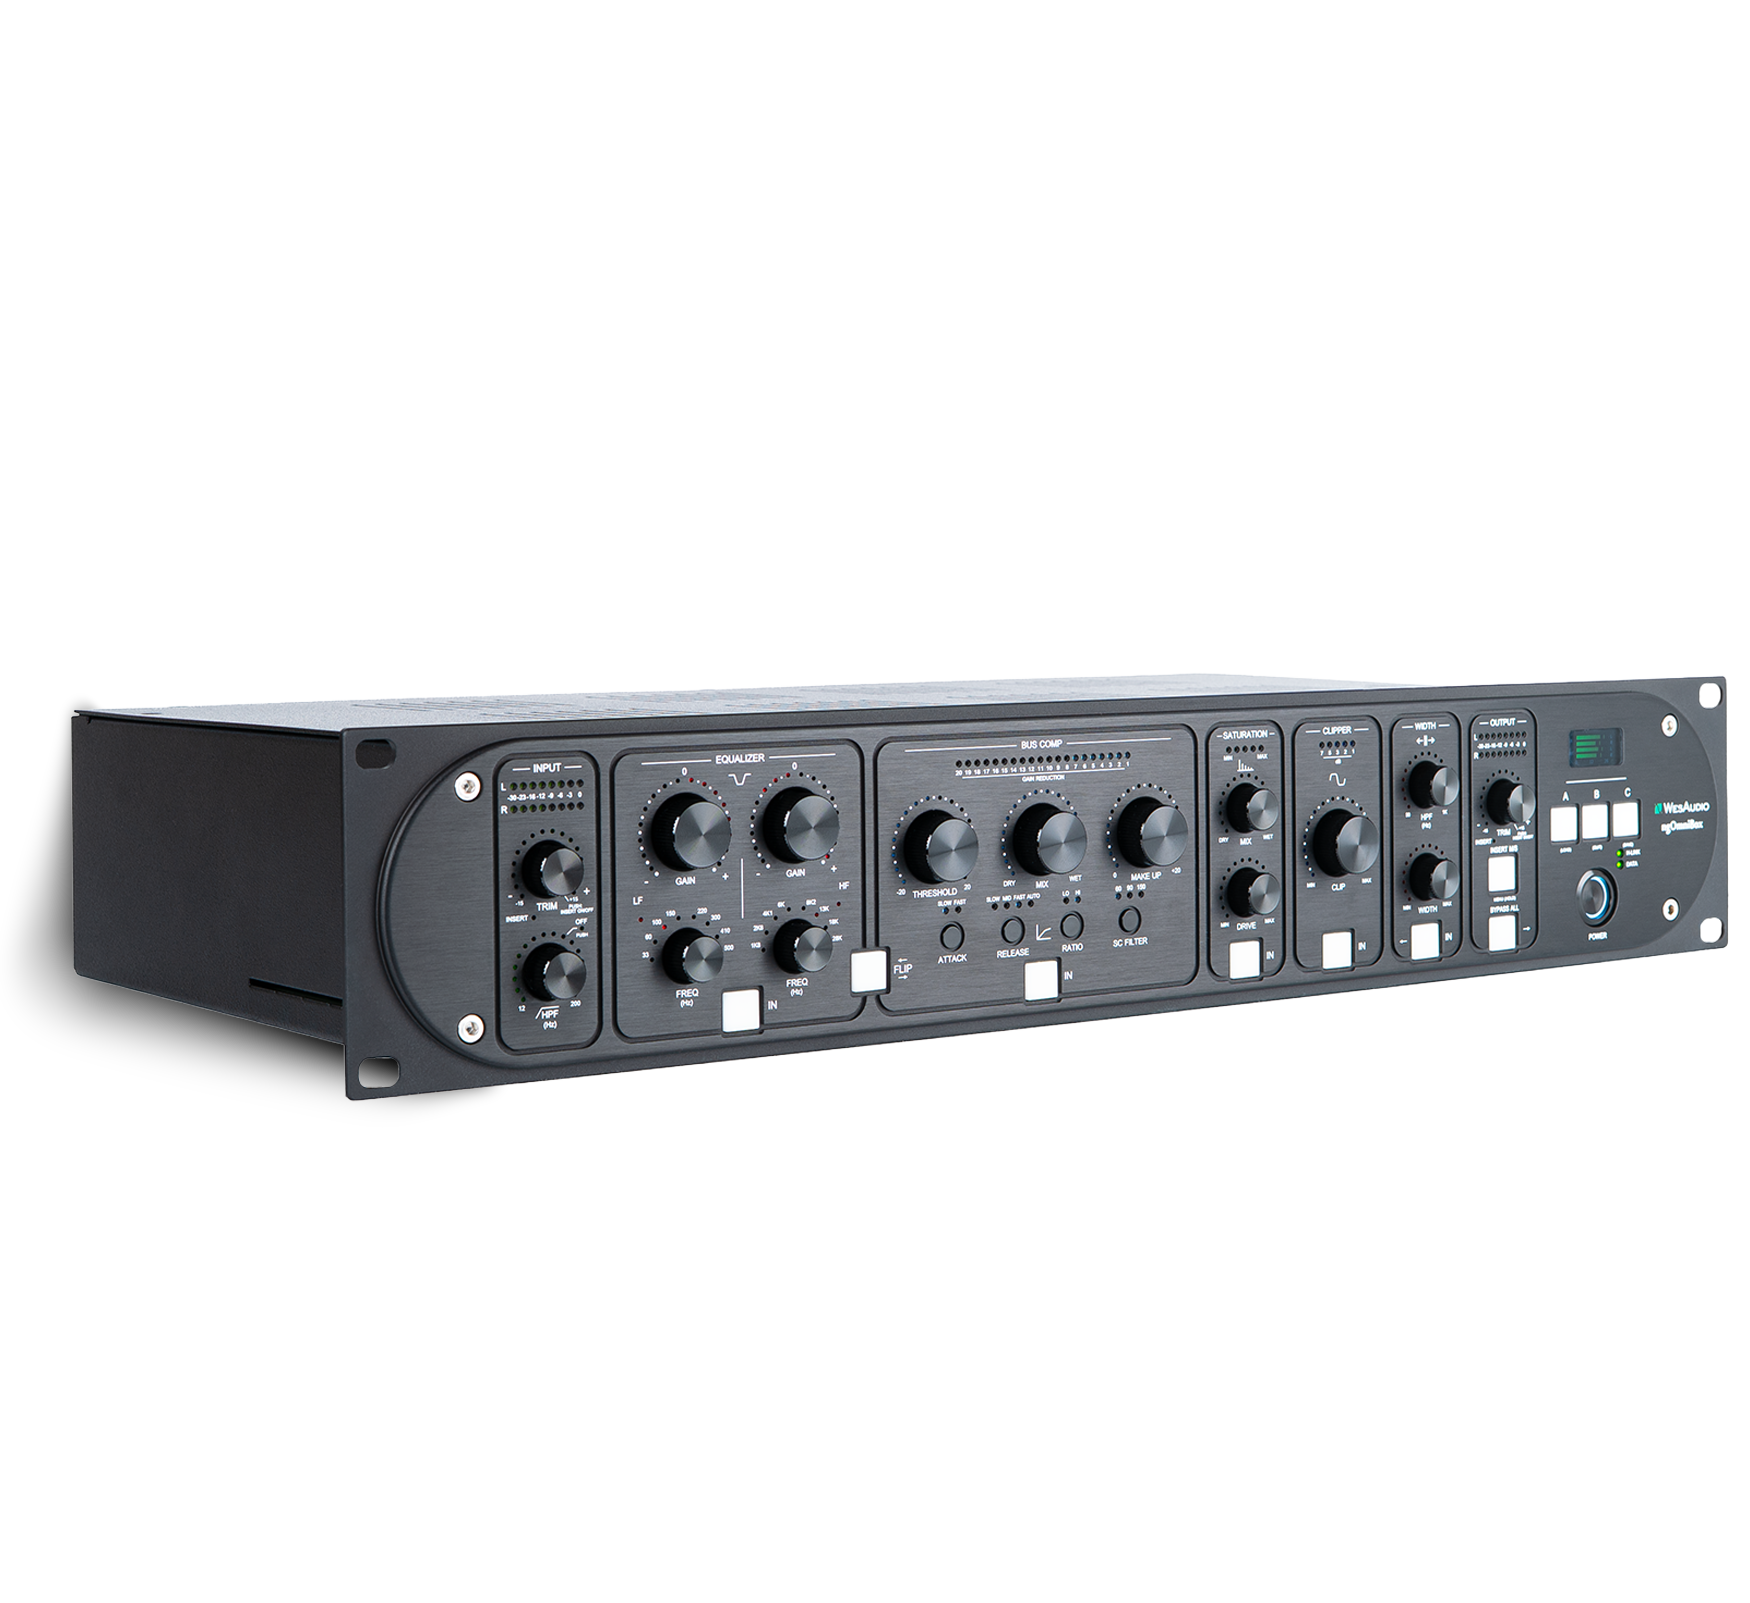
Built around a flexible stereo signal path, ngOmniBox combines a passive EQ, bus compressor, saturation, clipper and width processing, together with dedicated input and output stages and external insert points.
Package contents
| Device | x 1 |
| Power cable | x 1 |
| USB B cable | x 1 |
Main Features
ngOmniBox Analog Mix & Master Processor
ANALOG SOUND, DIGITAL CONTROL
True ANALOG sound with extremely convenient control!
Fully Analog Stereo Mix & Master Processor
ngOmniBox brings a complete mix and mastering chain into one fully analog stereo processor. EQ, compression, saturation, clipping and width — all in one flexible signal path. Each processing section can be used independently, giving you full control over how you shape and finish your mix.
Input Section
Take full control of your signal right from the start with a fully adjustable stereo input level, integrated High-Pass Filter and precise input metering. A dedicated Input Insert Point lets you bring external analog gear directly into the signal chain. Shape the signal before it reaches the main processing sections.
Passive EQ
Shape the tone with a fully analog passive EQ designed for broad, musical adjustments. Place it before or after the compressor depending on how you want the two sections to interact. Instantly switch between EQ → COMP and COMP → EQ to find the right processing flow for your mix.
Bus Compressor
Bring your mix together with analog stereo bus compression designed for glue, dynamics control and final shaping. Use it to tighten the mix, control peaks and add cohesion to the overall sound. Bypass the entire section independently whenever compression isn’t needed.
Saturation
Add harmonic character and density with a dedicated analog saturation section, completely independent from EQ and compression. Dial in exactly as much saturation as the mix needs with fully variable control. Bypass the section independently when you want to keep things clean.
Clipper
Control peaks and shape transients with a dedicated analog clipping section. Push the signal for additional loudness while keeping the dynamics under control. Bypass the section independently whenever clipping isn’t needed.
Width
Adjust the stereo image with a dedicated stereo width processing section. Precisely control the width to achieve the desired stereo image. The section can be independently bypassed.
Output Section
Take control of the final stage with a fully adjustable stereo output level and precise output metering. A dedicated Output Insert Point, operating in Stereo or Mid/Side, allows external analog processors to be integrated at the end of the signal chain. Set the final gain precisely after all processing.
Total Recall and Plugin Control
Seamless DAW/live plug-in integration for effortless recall and enhanced workflow efficiency.
Main Features Summary:
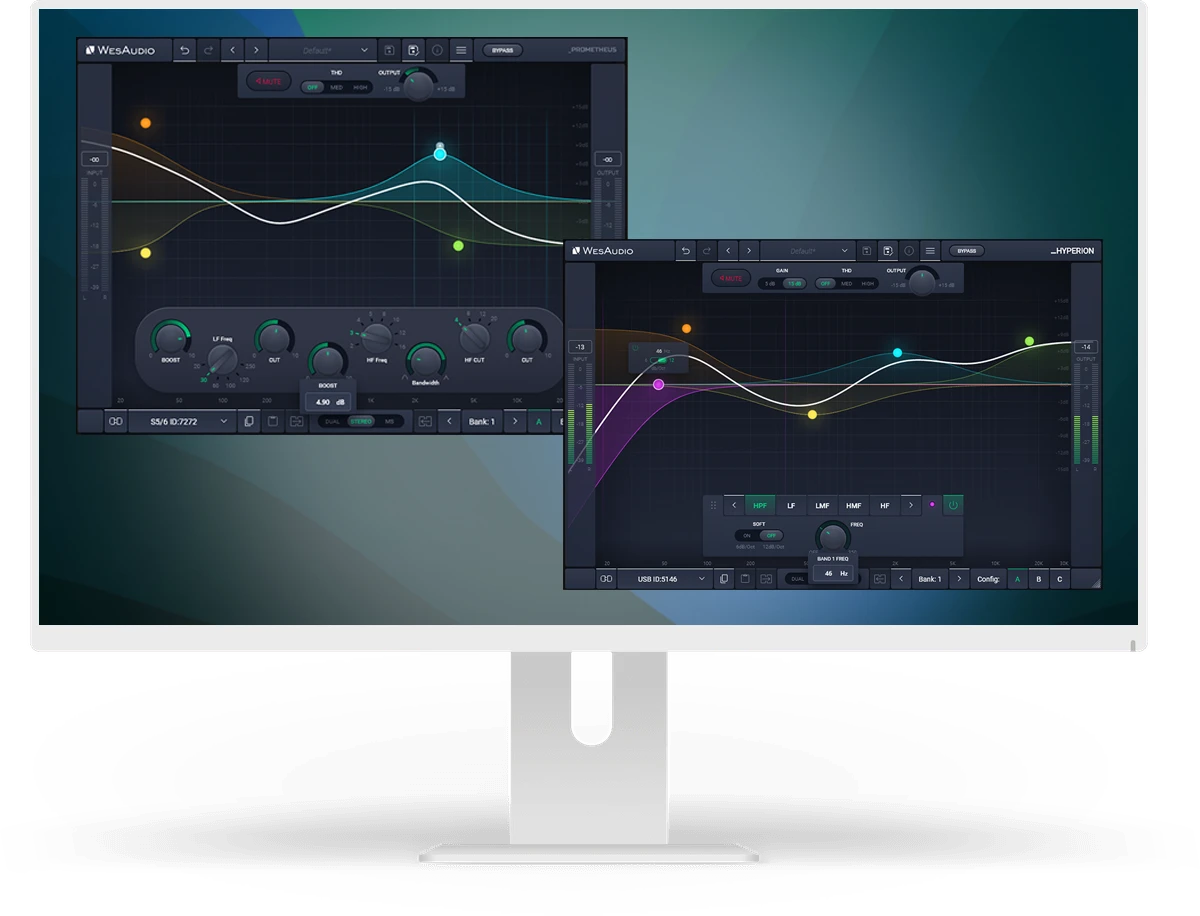
APP FOR MAC AND PC
Digital control features for fully analog units.
| THD+N (1kHz,0dBu, all OFF) | <0.003% |
| THD+N (1kHz,0dBu, all IN) | <0.015% |
| Frequency response 10-40kHz | (-1dB) |
| Input impedance | >10kohm |
| Output impedance | <50ohm |
| Crosstalk | >100dB |
| Max input level | +26dBu |
| Max output level | +26dBu |
| Power consumption (MAX) | 22W |
I like the WesAudio stuff mainly for how it sounds.
Katy Perry, Red Hot Chili Peppers, Ariana Grande, ZZ Top, Justin Bieber

This is technology that I’ve been waiting for a long time. It’s taken this long…it’s taken Wes Audio to be the ones to have seamlessly made this digital control work well. Wes Audio has created an analog compressor that sounds amazing and has the flexibility of any great stereo analog box
Beyoncé, Mariah Carey,James Brown, Lady Gaga, Notorious BIG, Black Eyed Peas,R. Kelly, Jennifer Lopez, Puff Daddy, Tupac Shakur, and many others
WesAudio nailed it with ngBusComp. It's been on my mix bus since the first time I tried it. After A/B'ing it with the original quad VCA unit, I was honestly blown away by how much better it is.
Beyonce, Jay-Z, Fka Twigs, and more.

I did a lot of a/b with my other SSL clones and plugins. I find that ngBusComp sounds better than all of them.
Olivia Rodrigo’s Multi-platinium “Driver’s License”, Carlie Rae Jepsen, Niko Rubio, Giorgio Moroder, Lady Gaga, Lost Kings, Melanie Martinez, LP, Bebe Rexha and more….

The ability to control an analog compressor from within the DAW has become a valuable feature to my workflow. The Dione is a great sounding unit and is a perfect example of where the future of pro audio is heading.
Gold & Platinum award producer
_MIMAS is as good as my other 1176 in the rack…I love this technology.
The diones are so very good. It’s such a flexible all purpose compressor. I haven’t found anything it doesn’t do well. Parallel compression on drum bus, compressing multiple keyboards in order to level them all out etc… they are sonically rich sounding, and the distortion modes sound fantastic.
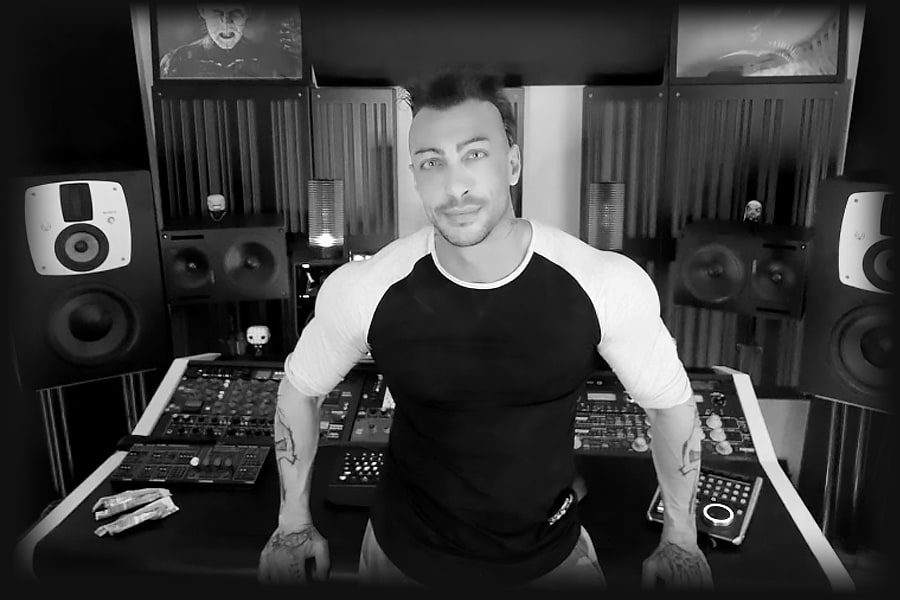
I had several SSL type compressors in the years and for me there’s zero doubt, the WesAudio _Dione is by far the best in that category. _Dione never left my 2bus since the day I got it.
These days it’s really easy to excited about all of the technology we have access to. Which is also another the reason why I do my best to try and spot what really shines in this industry. To me, Wesaudio has something really special going on. Not only are the analog components up to snuff…but I believe they have the potential to be the leaders of the 500 series format. They have the analog/digital hybrid down to a refined science without the need of middle hardware. But most importantly, their stuff simply sounds great!
_MIMAS – This first enhanced 500-series module from Wes Audio is both convenient and impressive: it provides an updated version of the classic 1176 compressor, but with full remote-control facilities via a VST 3/AAX plug-in.
_DIONE – A well thought-out interpretation of the classic SSL bus compressor design that genuinely brings something new to the table.
FAQ
Frequently Asked Questions
ng76 implements two different revisions due to the selectable input mode:
VINTAGE – Revision F (transformer balanced input).
MODERN – Revision G (electronically balanced input).
There is no need to uninstall the WesAudio application before installing a new release. The update process will seamlessly overwrite the existing version.
To uninstall the WesAudio application, please follow the instructions below.
MacOS:
The WesAudio installation package includes a dedicated uninstaller.
Simply locate and run the WesAudio Uninstaller to remove the application from your system.
Windows:
-
Click Start on the taskbar.
-
Open Settings.
-
Select Applications from the left-side menu.
-
ClickInstalled applications.
-
In the search bar, type “WesAudio”.
-
Click the three dots on the right side.
-
Select Uninstall and follow the on-screen instructions.
If the module doesn’t react to any changes to the knobs on the front panel, the first necessary step is to rewrite firmware into the flash memory (Factory reset procedure re-writes firmware into internal flash memory – it doesn’t affect anyhow unit configuration). To proceed with factory reset, please follow below steps:
- Connect unit either:
- Through front panel USB socket,
- Or keep the unit in ng500 chassis – _TITAN, but please note that chassis has to be connected to the PC/MAC either via USB or Ethernet cable.
- POWER OFF your 500 series chassis.
- Depends on the product please press following front panel control:
- _MIMAS – RATIO button,
- _DIONE – RATIO button,
- _RHEA – THD button,
- _PROMETHEUS – HIGH CUT encoder (top-right encoder),
- _HYPERION – LMF GAIN encoder,
- _CALYPSO – MENU encoder,
- _PANDORA – HIGH SC FILTER (right button).
- While keeping this control (button/encoder) pressed, POWER ON your 500 series chassis.
- LEDs should present a strange pattern.
- Now open GConManager:
- WIN: C:/Program Files (x86)/WesAudio/GConManager.exe
- MAC: /Applications/WesAudio/GConManager.app
- Or click on the WesAudio “Tray” icon, and select “Open GConManager”
- Go to _UPGRADE application.
- Hit start!
If the module doesn’t react to any changes to the knobs on the front panel, the first necessary step is to rewrite firmware into the flash memory (Factory reset procedure re-writes firmware into internal flash memory – it doesn’t affect anyhow unit configuration). To proceed with factory reset, please follow below steps:
- Connect the unit to either USB or Ethernet.
- POWER OFF your unit.
- Depends on the product please press following front panel control:
- ngBusComp – far left Ratio on Channel 1 (Ratio “-”),
- _TITAN – any LINK button between slot connectors,
- ngTubeEQ – THD encoder on Channel 1,
- ngTubeComp – Saturation encoder on Channel 1,
- ng76 – “IN MODE” button,
- ngLEVELER – use a small screwdriver and press button available on the rear panel via a small hole in the chassis.
- While keeping this control (button/encoder) pressed, POWER ON your unit.
- LEDs should present a strange pattern.
- Now open GConManager:
- WIN: C:/Program Files (x86)/WesAudio/GConManager.exe
- MAC: /Applications/WesAudio/GConManager.app
- Or click on the WesAudio “Tray” icon, and select “Open GConManager”
- Go to _UPGRADE application.
- Hit start!
This is a very common issue and in most cases the root cause lies in the connection of the unit and audio interface. If that happens it should be checked if audio interface input isn’t connected to the chassis input and if audio interface output isn’t connected to chassis output. As this initially would seem to be entirely wrong and shouldn’t work at all, as all our units implement “True Bypass” via relays, the unit will pass a signal when the bypass is engaged. The reason for that is that the relay is in fact hard wiring input to the output, and thus the unit will pass the signal, as it doesn’t go through any active circuit of the unit.
This is actually how it is supposed to work, so after the plug-in instance is created, please use a small triangle button which usually is on the bottom side of the plug-in and select proper HW ID from the drop down menu. If the drop down menu doesn’t list any hardware units, please check Your connectivity and other possible root causes in this FAQ.
This is a wide topic, and there may be at least several root causes, but there are few things that should be checked. However, the first and most important thing is to double check that GConManager doesn’t list this device in the _CONFIG app. If this is the case, it means that WesAudio unit can’t connect on the OS level, and some of the below steps may help:
- First of all double check if module connection is properly executed, this procedure is described here.
- USB specification indicates that USB 2.0 works up to 5 meters. This is however not entirely true, as it strongly depends on the peripherals that unit is connected to. Even if our modules are USB 2.0 compatible, your USB port could support USB 3.0 – USB is a backward compatible protocol, so it may be that USB 3.0 cable length limit should be considered which is 2 meters. We would recommend having a USB cable up to 2 meters to remove those limitations from the equation.
- USB HUB is very common root cause to those problems, if module can’t connect via HUB – just for the sake of the test, it is mandatory to connect unit directly to PC/MAC to verify if the problem isn’t caused by it.
- Please note any system warnings attached to “WesAudio Tray Icon”.
As USB controllers have limited capacity it could be a reason for random unit disconnection. Usually, it happens when a lot of USB devices are plugged into the PC/MAC. The usual behavior would be that the unit works normally, and after reboot it doesn’t, but it strongly depends on the OS implementation so exact reaction could be a little bit different. If this is suspected, just for the test, it would be good to disconnect most of the devices from the USB ports, reboot PC/MAC and double check the connectivity from stability point of view. If it leads to the conclusion that this is the root cause of the problem, we would recommend using a decent USB hub, and ideally a TB/USB dock station which tends to offload a lot of responsibilities from our PC/MAC.
If the unit was working fine, and suddenly it couldn’t connect (it is not visible in the GConManager _CONFIG app) that could lead to the conclusion that some devices were added to our USB line, and we could have problems with the USB controller inside PC/MAC. In that case please check the description in the above “Unit disconnects by itself”.
GConManager in Admin mode enables special functionalities which are used during WesAudio units calibration.
Starting from GCon 15, Admin mode can be activated through the GCon Manager app:
- Open the GCon Manager app.
- Navigate to Settings.
- Click the padlock icon to unlock the settings.
- Check the Admin Mode box to enable it.
Alternatively, Admin mode can be activated by following these instructions:
OSX:
- Please open terminal.
- Copy-Paste following command:
open /Applications/WesAudio/GConManager.app --args --admin
WINDOWS:
- Go to “START” and open “Command Line”.
- copy paste this command:
"c:\Program Files (x86)\WesAudio\GConManager.exe" --admin