ngTubeeq
NEXT GENERATION TUBE EQUALIZER
Next generation tube equalizer with digital recall
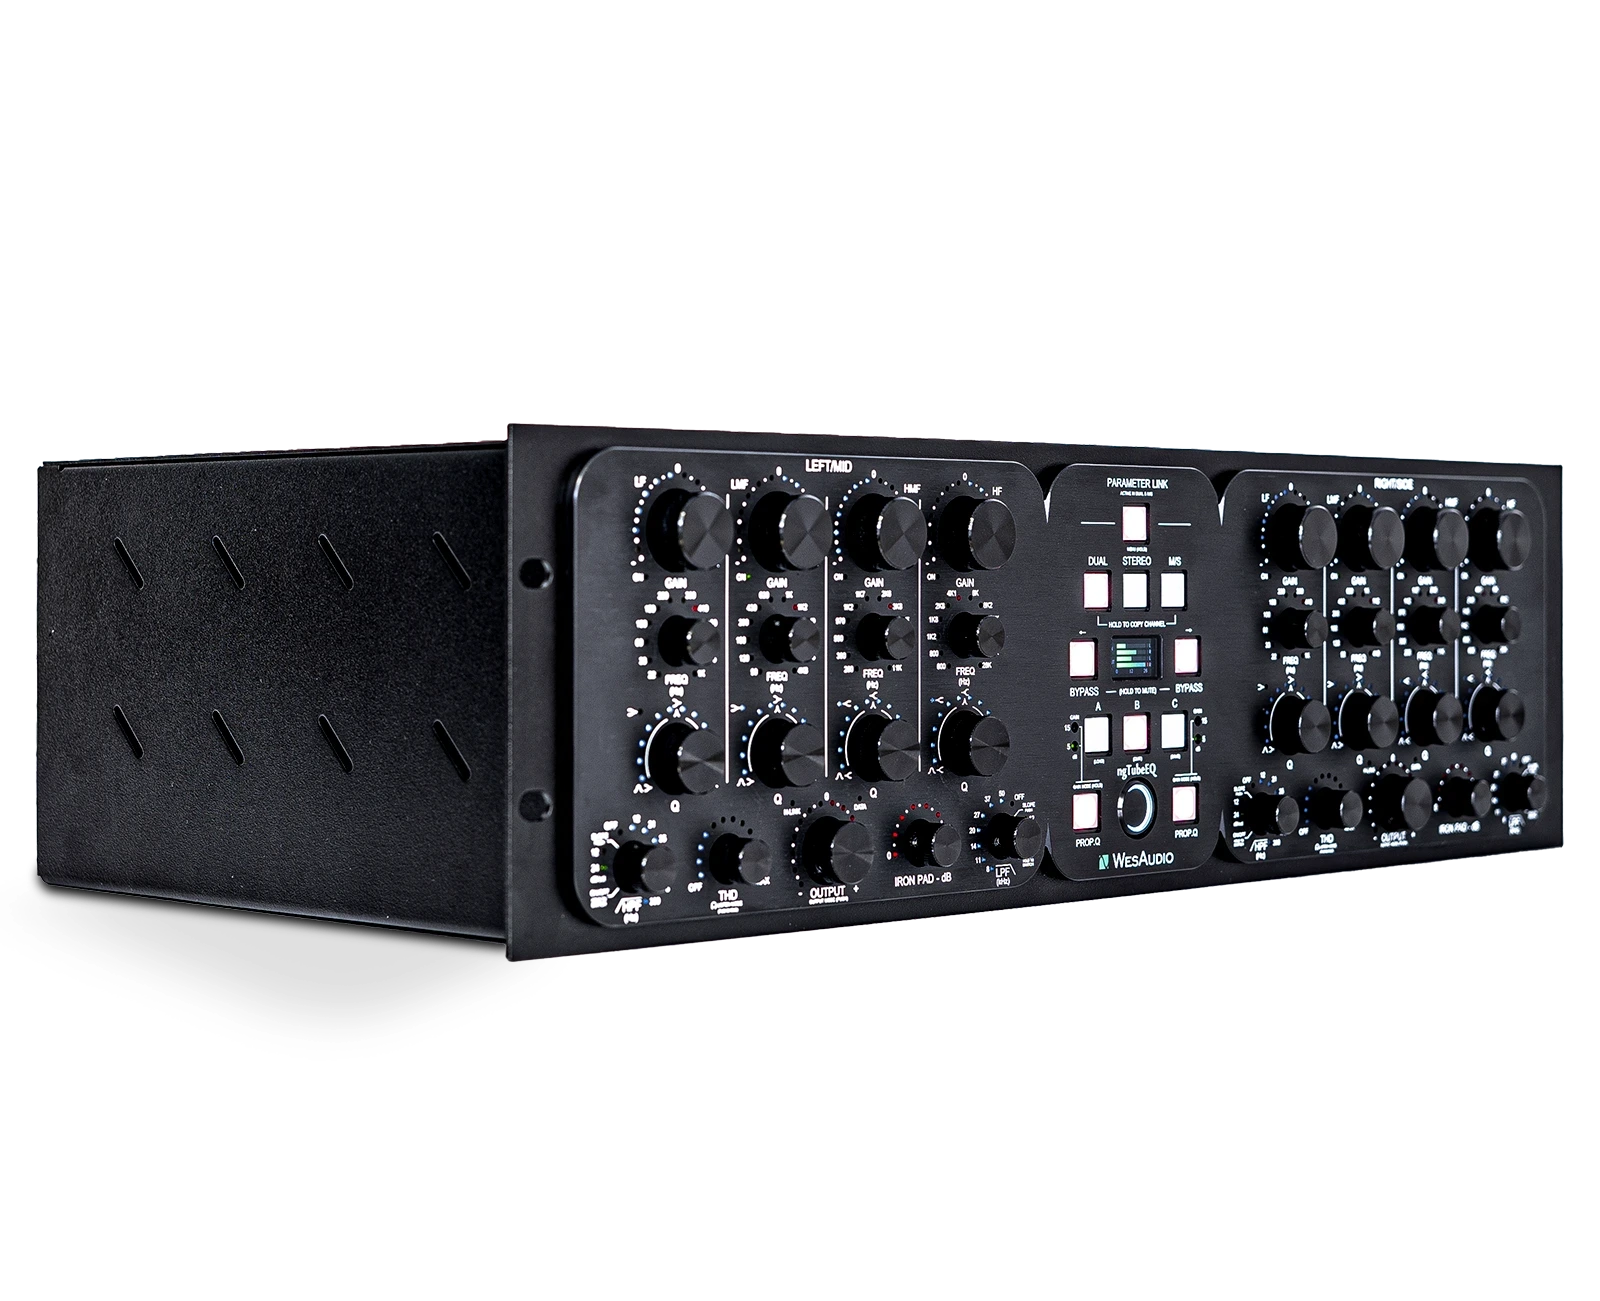
ngTubeEQ
Next generation tube EQ with digital recall and automation
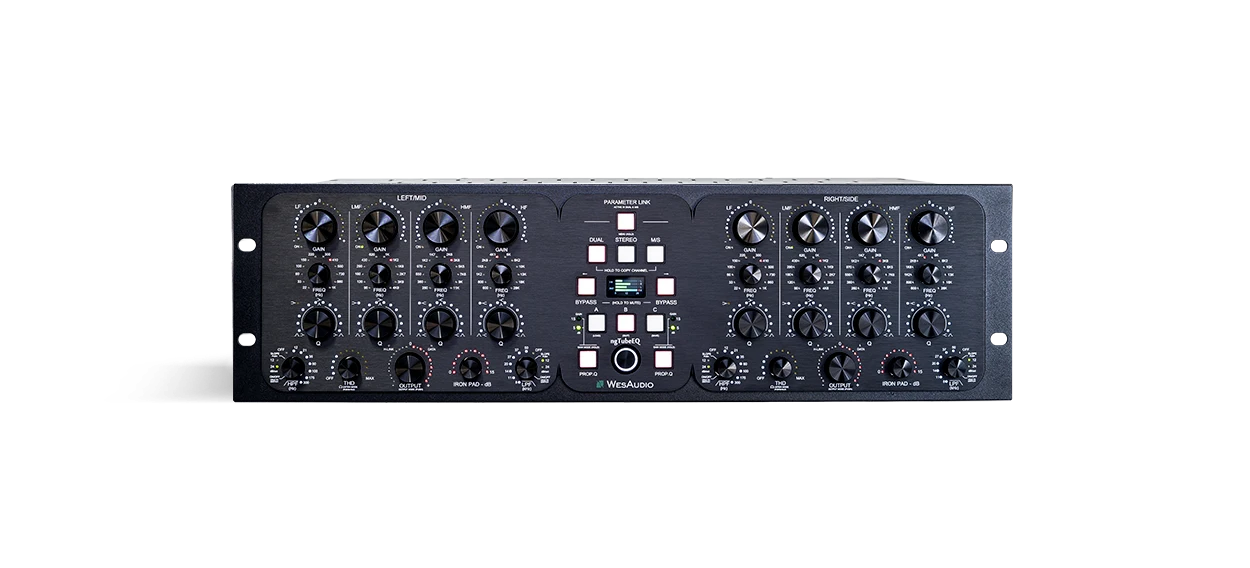
For decades, tube equalizers have been cherished for their rich, musical sound, shaping the sonic character of countless classic recordings. Our ngTubeEQ elevates this legacy, offering a refined, analog experience seamlessly integrated into the modern digital workflow. With its lush tonal quality and intuitive digital control, the ngTubeEQ is set to become an indispensable tool in studios worldwide, continuing our tradition of blending vintage charm with contemporary functionality. Experience the best of both worlds – the soul of vintage sound and the ease of digital technology with ngTubeEQ.
Package contents
| Device | x 1 |
| Power cable | x 1 |
| USB B cable | x 1 |
Main Features
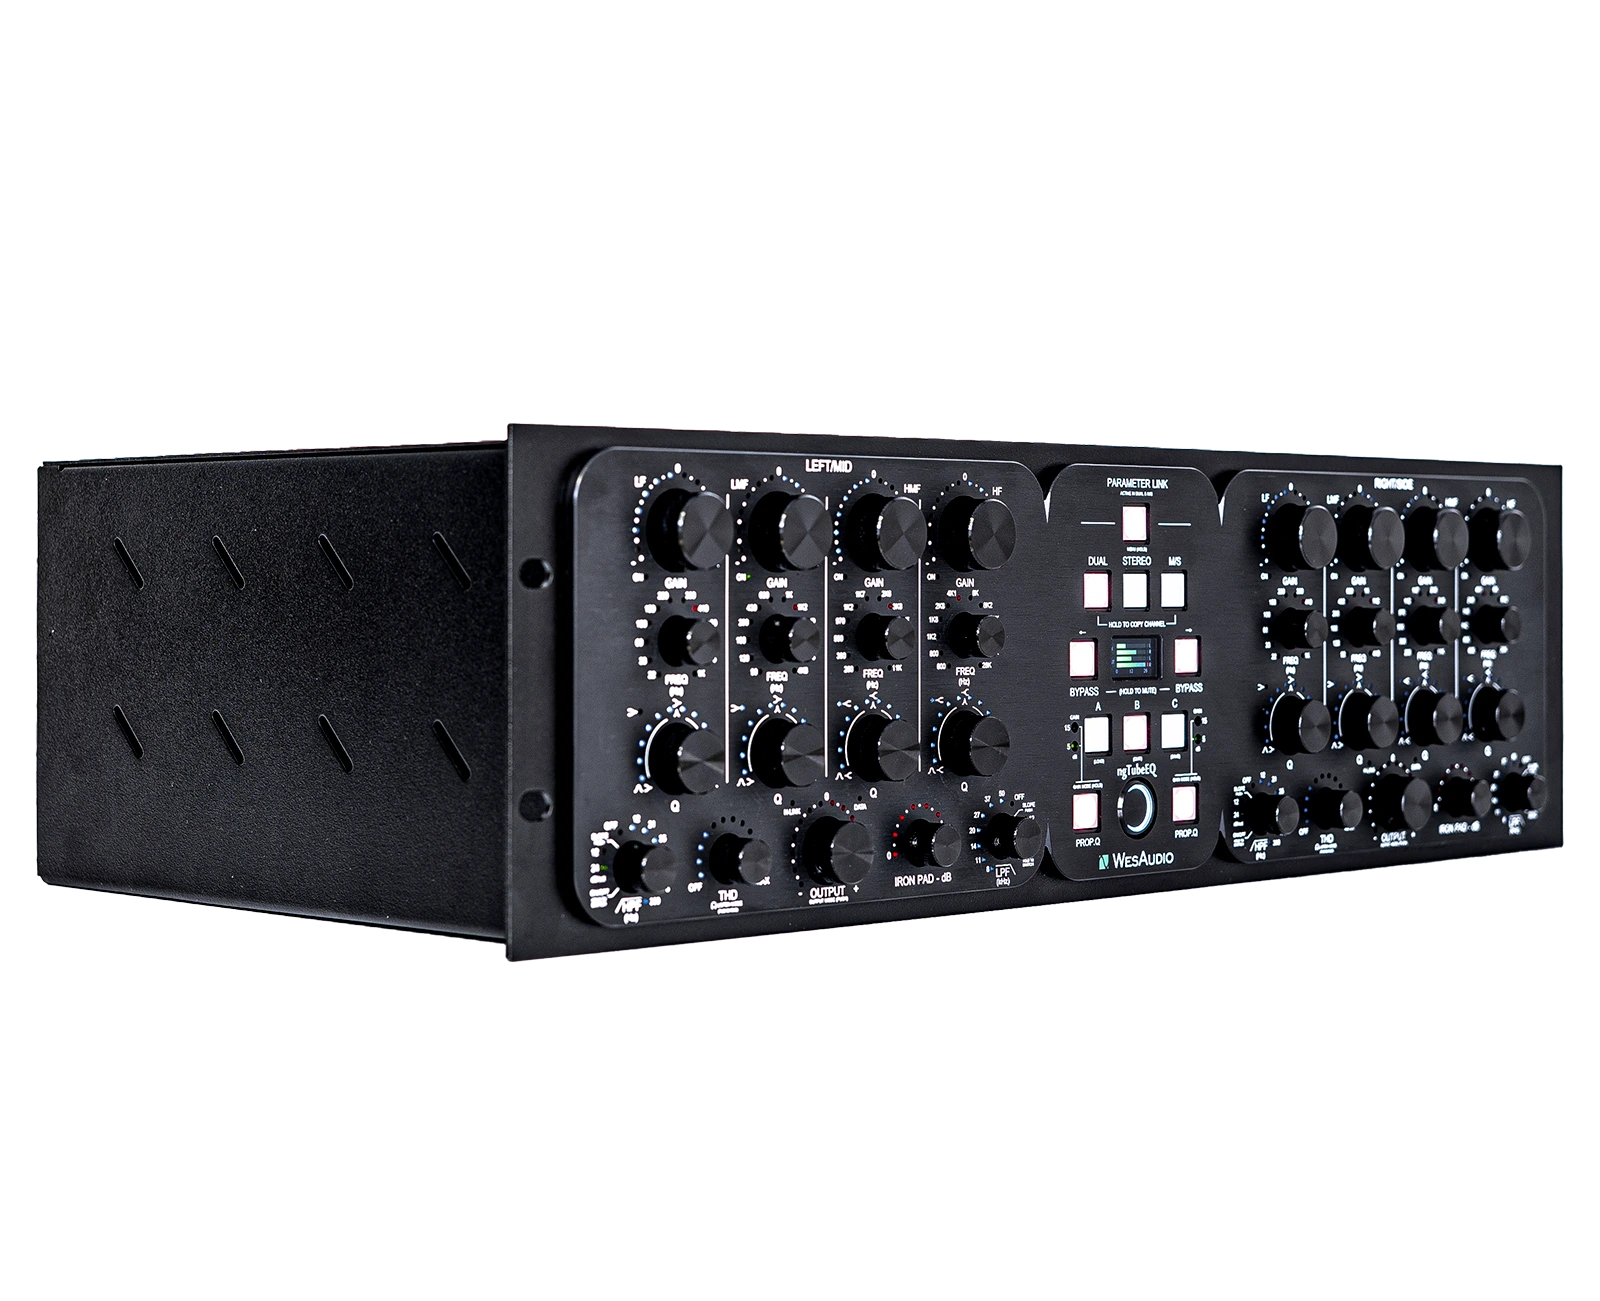
ngTubeEQ fully analog tube equalizer with digital recall.
ANALOG SOUND, DIGITAL CONTROL
True ANALOG sound with extremely convenient control!
100% analog Tube Equalizer
The ngTubeEQ stands out as a fully analog processing unit, boasting 26dBu of headroom for exceptional clarity and dynamic range. Despite its digital control capabilities for ease of use and precision, the analog signal path ensures that all processing maintains the rich, full quality expected from a premium analog system.
Heart of the Unit: Passive Section
At the core of this unit is a beloved fully passive EQ section, designed around custom inductors. This classic approach to equalization offers the warm, musical sound characteristics that audio professionals and enthusiasts treasure.
4 Passive bands
This unit features four passive EQ bands, each offering 12 selectable frequency points for detailed sound shaping. Bands can be individually disabled for tailored frequency manipulation. The variable Q configuration allows for precise bandwidth adjustments. Covering a total frequency range from 22Hz to 28kHz, each band supports both Bell and Shelf configurations, providing versatility in sound contouring
LPF & HPF Active filters
Our active filter circuit offers adjustable low-pass and high-pass filters with selectable slopes of 12dB/octave or 24dB/octave. The entire circuit can be fully bypassed at the analog level for uncolored audio processing. Controls are variable, allowing for precise adjustments to fit your sound engineering needs.
3 Modes of operation
Enhance your audio processing with three versatile modes designed to fit any production need:
- DUAL: Operate two independent channels for distinct processing.
- STEREO: Process stereo tracks to enhance and balance the overall sound.
- MID-SIDE: Manipulate the mid and side components separately for precise spatial adjustments and stereo imaging.
Carnhill transformers
Transformers in the ngTubeEQ aren’t merely functional for signal processing—they enrich the sound with a warm, sonic saturation that’s essential for high-quality audio production. The Carnhill transformers, integral to this equalizer, infuse your recordings with that sought-after vintage flavor, enhancing the depth and warmth of the audio spectrum.
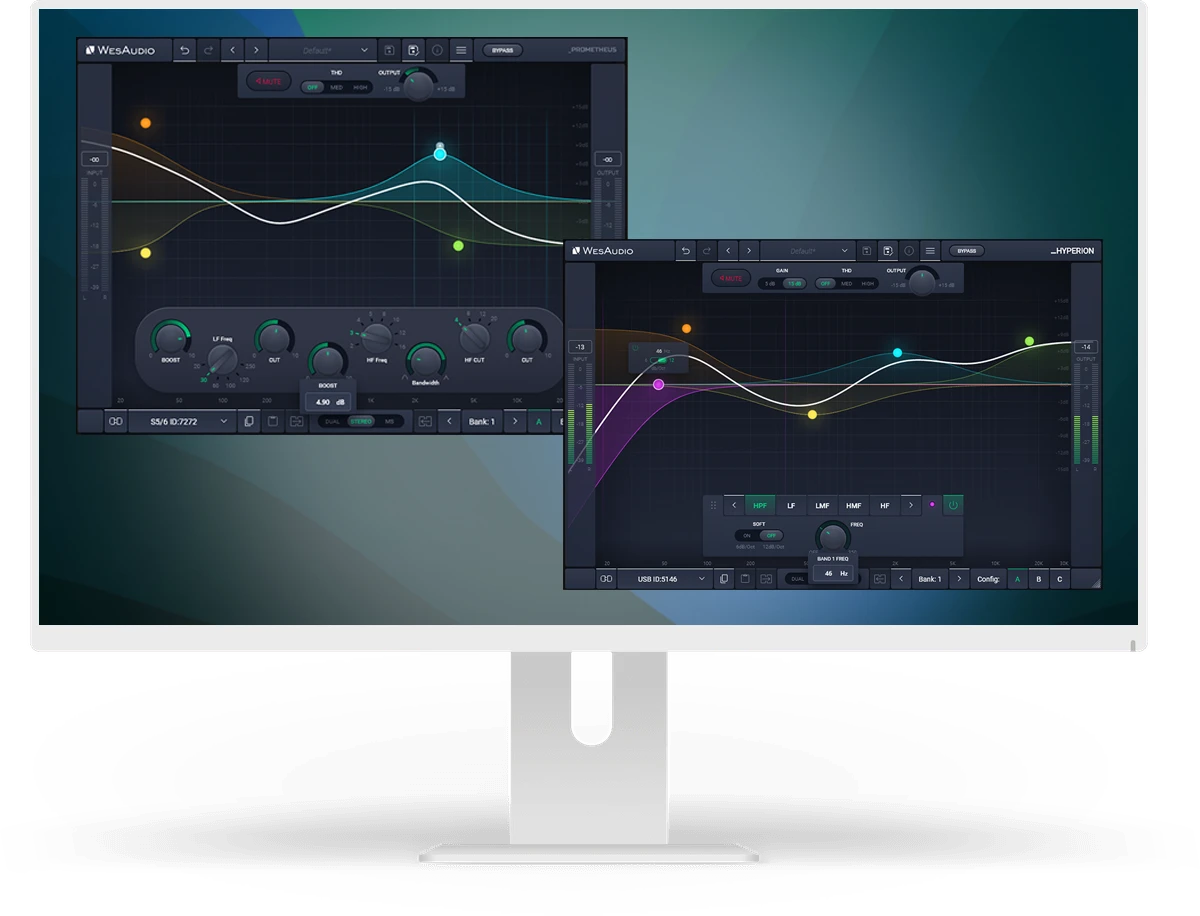
Total recall and control plugin
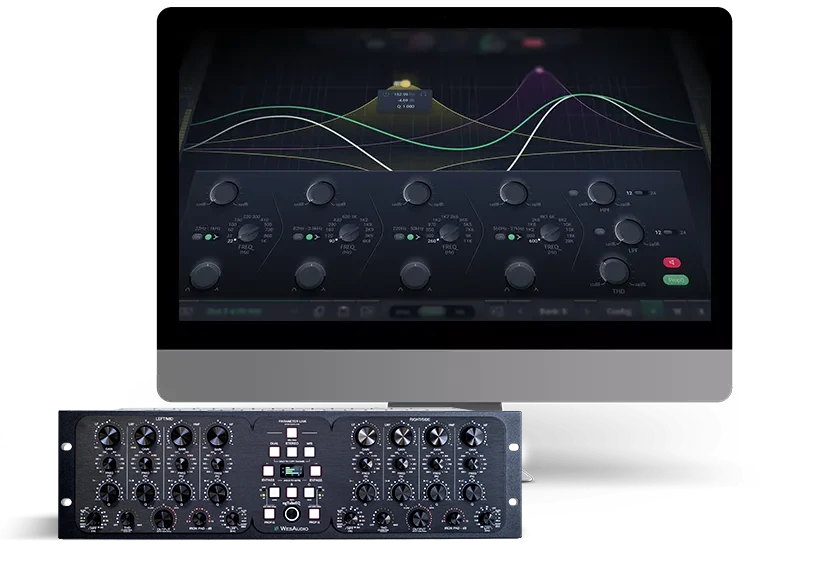
This unit offers full control and instant recall capabilities through your DAW plugin, supporting all common plugin formats and digital audio workstations. It features a completely new GUI engine and an intuitive UX design. Designed for optimum ease of use, all parameters are accessible directly from the sweetspot, ensuring seamless adjustments during your creative process.
Selectable output stage
Choose between two distinct output settings to suit your sound preferences:
- GREEN: Electronically balanced for a cleaner, punchier sound with minimal sonic imprint.
- RED: Tube amplification stage coupled with a transformer balanced output. This setup includes the ‘IRON PAD’ feature, allowing you to increase the unit’s output to aggressively drive the Tube Amplification and transformer sections, while the passive attenuation section maintains consistent output levels.
Hardware A/B/C buttons to compare two independent settings
Experience the simplicity of the ngTubeEQ as a pure analog signal processor. With just the press of a button, effortlessly switch between three parallel settings to enhance your audio workflow.
THD – total harmonic distortion
Total Harmonic Distortion (THD): Featuring our proprietary harmonic distortion circuit, this system is fully bypassable via an analog relay for clean, unaltered sound. It includes variable control offering 100 precise steps, integrated seamlessly with the internal gain structure to introduce inductor-based saturation for richer audio.
Propotional and Constant Q
- Proportional Q: Widely acclaimed for its musical qualities in numerous EQ designs, Proportional Q dynamically adjusts the bandwidth—narrowing the Q as more boost is applied, which enhances the focus on specific frequencies.
- Constant Q: Favored for its precision, Constant Q maintains a fixed bandwidth for each band, regardless of gain changes. This feature is highly valued by professional users seeking meticulous control over their source material, ensuring that frequency adjustments are consistent and predictable.
5dB/15dB Gain Mode
The ngTubeEQ offers versatile gain settings for each band, allowing you to choose between a 5dB or 15dB mode. In the 5dB mode, you can adjust with fine granularity, approximately 0.1dB per step. For more substantial adjustments, the 15dB mode provides increments of about 0.25dB per step, facilitating broader changes with precision.
Plugin Integrated metering
Experience precision with our plugin’s integrated metering, which ranges from 0dBu to 26dBu and includes clip detection to ensure your audio levels are always in check.
Interactive LCD Display: Edit parameters in real-time with our interactive LCD display, which features integrated high-precision metering for detailed and accurate adjustments on the fly.
Plug-in presets database
Our plug-in boasts an unlimited number of presets, providing extensive flexibility and customization. Users can organize their settings into personalized categories. Additionally, each unit comes preloaded with a selection of factory presets, expertly crafted to get you started immediately.
Band Listen Mode
This mode allows for the isolation of the fundamental frequency by using precise adjustments of low pass and high pass filters. This is a unique hardware feature, setting it apart from other hardware equalizers as it is purely based on hardware components, offering an unmatched level of precision and control.
Internal Presets Memory
The device offers the capability to store up to 100 presets in its internal memory. This feature is perfect for users who prefer a plugin-free solution, providing convenience and reliability by allowing easy access to settings directly on the hardware.
Main features summary:
APP FOR MAC AND PC
Digital control features for fully analog units.
Specification
ngTubeEQ specification
| Frequency response Normal (green) | 5Hz-100kHz (-0.5dB) |
| Frequency response Tube (red) | 20Hz-25kHz (0.5dB) |
| Dynamic range | 122dB |
| THD+N Normal(green) | 0.0025% (+4dBu), 0.009% (+18dBu) |
| THD+N Tube(red) | 0.04% (+4dBu), 0.016% (+18dBu) |
| Noise | -93dBu (A-weight) |
| Crosstalk | -120dB (40Hz), -100dB (20kHz) |
| Max input level | +28dBu |
| Max output level | +27dBu |
| Input impedance | 44kohm |
| Common mode rejection ratio | 70dB |
| Output impedance Normal (green) | 100ohm |
| Output impedance Tube (red) | 150ohm |
| Dimensions | 135x483x252mm |
| Box dimensions | 274x550x382mm |
| Unit weight | 8,8 kgs |
| Box weight | 11,5 kgs |
| Power consumption (MAX) | 45W |
User Manual
Download ngTubeEQ User Manual
ngTubeEQ VIDEO STORIES
Watch the product videos
FAQ
Frequently Asked Questions
ngTubeEQ when RED Mode is engaged uses 1 x JJ ECC 81 and 1 x JJ ECC82 per channel.
There is no need to uninstall the WesAudio application before installing a new release. The update process will seamlessly overwrite the existing version.
If the module doesn’t react to any changes to the knobs on the front panel, the first necessary step is to rewrite firmware into the flash memory (Factory reset procedure re-writes firmware into internal flash memory – it doesn’t affect anyhow unit configuration). To proceed with factory reset, please follow below steps:
- Connect unit either:
- Through front panel USB socket,
- Or keep the unit in ng500 chassis – _TITAN, but please note that chassis has to be connected to the PC/MAC either via USB or Ethernet cable.
- POWER OFF your 500 series chassis.
- Depends on the product please press following front panel control:
- _MIMAS – RATIO button,
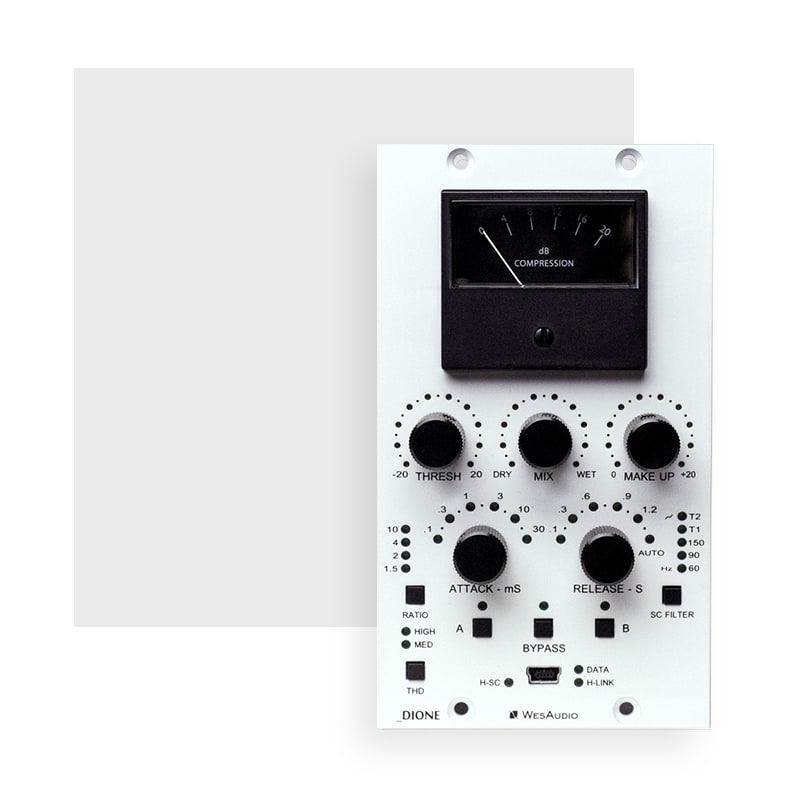
- _DIONE – RATIO button,
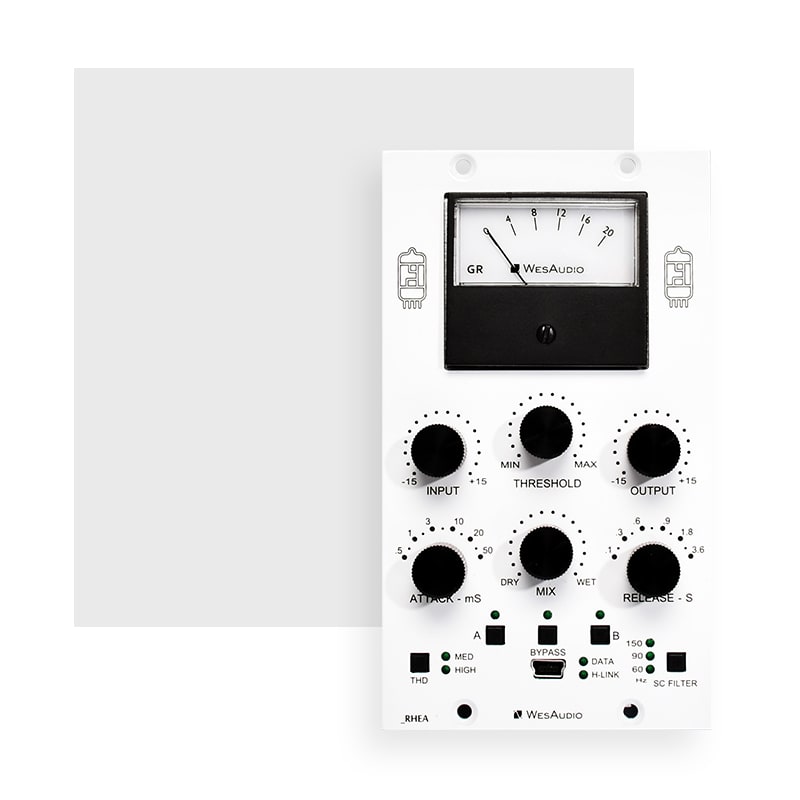
- _RHEA – THD button,
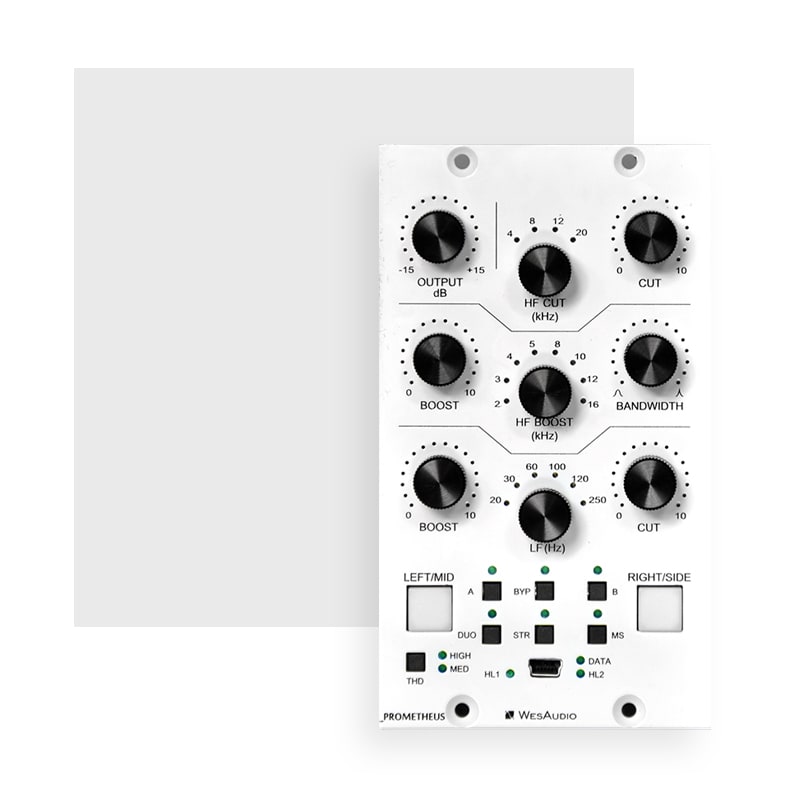
- _PROMETHEUS – HIGH CUT encoder (top-right encoder),
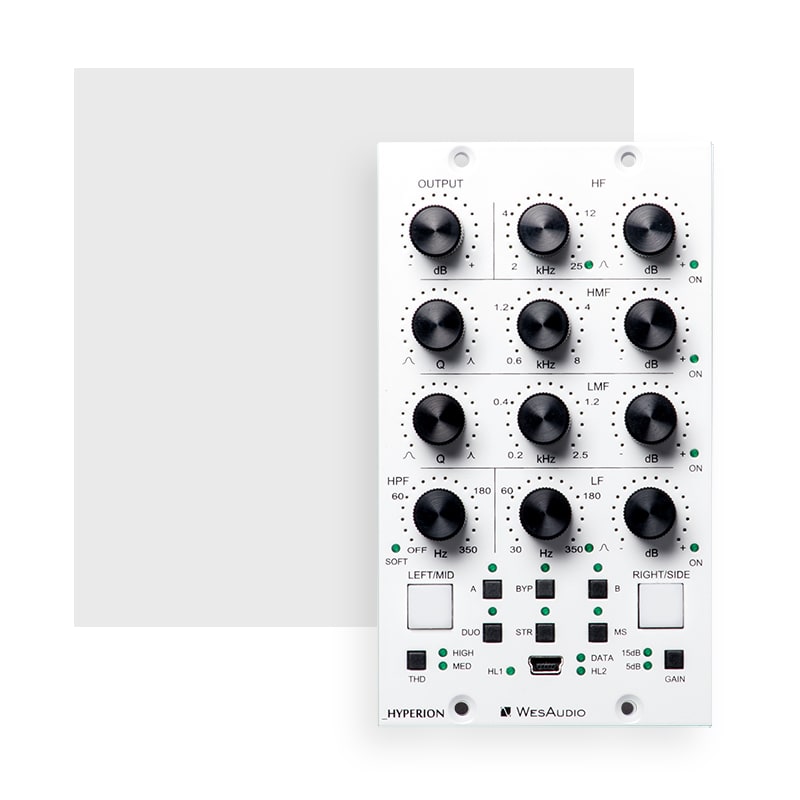
- _HYPERION – LMF GAIN encoder,
- _CALYPSO – MENU encoder,
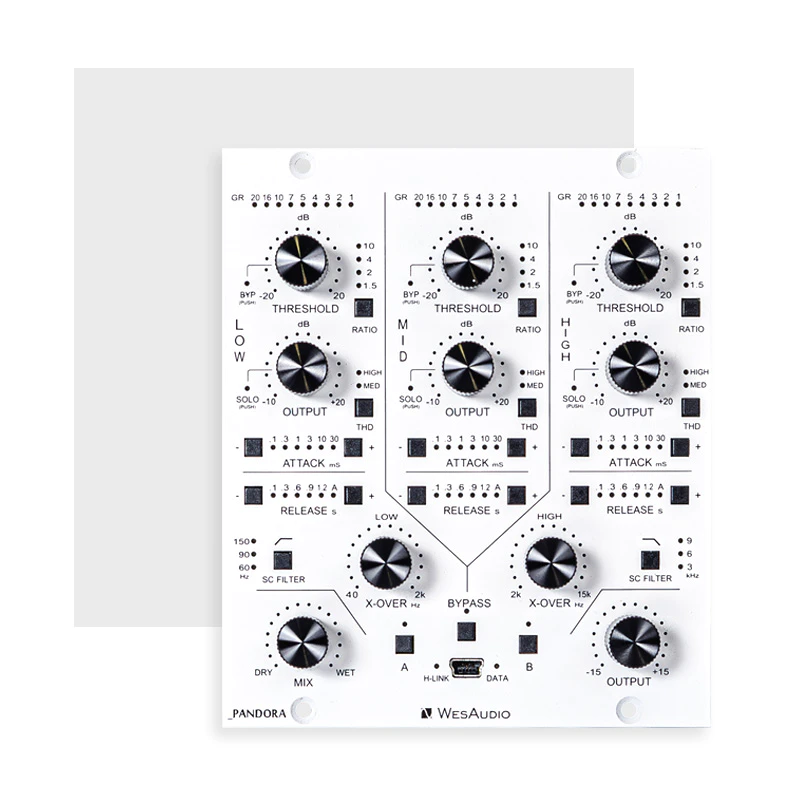
- _PANDORA – HIGH SC FILTER (right button).
- While keeping this control (button/encoder) pressed, POWER ON your 500 series chassis.
- LEDs should present a strange pattern.
- Now open GConManager:
- WIN: C:/Program Files (x86)/WesAudio/GConManager.exe
- MAC: /Applications/WesAudio/GConManager.app
- Or click on the WesAudio “Tray” icon, and select “Open GConManager”
- Go to _UPGRADE application.
- Hit start!
If the module doesn’t react to any changes to the knobs on the front panel, the first necessary step is to rewrite firmware into the flash memory (Factory reset procedure re-writes firmware into internal flash memory – it doesn’t affect anyhow unit configuration). To proceed with factory reset, please follow below steps:
- Connect the unit to either USB or Ethernet.
- POWER OFF your unit.
- Depends on the product please press following front panel control:
- ngBusComp – far left Ratio on Channel 1 (Ratio “-”),
- _TITAN – any LINK button between slot connectors,
- ngTubeEQ – THD encoder on Channel 1,
- ngTubeComp – Saturation encoder on Channel 1,
- ng76 – “IN MODE” button,
- ngLEVELER – use a small screwdriver and press button available on the rear panel via a small hole in the chassis.
- While keeping this control (button/encoder) pressed, POWER ON your unit.
- LEDs should present a strange pattern.
- Now open GConManager:
- WIN: C:/Program Files (x86)/WesAudio/GConManager.exe
- MAC: /Applications/WesAudio/GConManager.app
- Or click on the WesAudio “Tray” icon, and select “Open GConManager”
- Go to _UPGRADE application.
- Hit start!
This is a very common issue and in most cases the root cause lies in the connection of the unit and audio interface. If that happens it should be checked if audio interface input isn’t connected to the chassis input and if audio interface output isn’t connected to chassis output. As this initially would seem to be entirely wrong and shouldn’t work at all, as all our units implement “True Bypass” via relays, the unit will pass a signal when the bypass is engaged. The reason for that is that the relay is in fact hard wiring input to the output, and thus the unit will pass the signal, as it doesn’t go through any active circuit of the unit.
This is actually how it is supposed to work, so after the plug-in instance is created, please use a small triangle button which usually is on the bottom side of the plug-in and select proper HW ID from the drop down menu. If the drop down menu doesn’t list any hardware units, please check Your connectivity and other possible root causes in this FAQ.
This is a wide topic, and there may be at least several root causes, but there are few things that should be checked. However, the first and most important thing is to double check that GConManager doesn’t list this device in the _CONFIG app. If this is the case, it means that WesAudio unit can’t connect on the OS level, and some of the below steps may help:
- First of all double check if module connection is properly executed, this procedure is described here.
- USB specification indicates that USB 2.0 works up to 5 meters. This is however not entirely true, as it strongly depends on the peripherals that unit is connected to. Even if our modules are USB 2.0 compatible, your USB port could support USB 3.0 – USB is a backward compatible protocol, so it may be that USB 3.0 cable length limit should be considered which is 2 meters. We would recommend having a USB cable up to 2 meters to remove those limitations from the equation.
- USB HUB is very common root cause to those problems, if module can’t connect via HUB – just for the sake of the test, it is mandatory to connect unit directly to PC/MAC to verify if the problem isn’t caused by it.
- Please note any system warnings attached to “WesAudio Tray Icon”.
As USB controllers have limited capacity it could be a reason for random unit disconnection. Usually, it happens when a lot of USB devices are plugged into the PC/MAC. The usual behavior would be that the unit works normally, and after reboot it doesn’t, but it strongly depends on the OS implementation so exact reaction could be a little bit different. If this is suspected, just for the test, it would be good to disconnect most of the devices from the USB ports, reboot PC/MAC and double check the connectivity from stability point of view. If it leads to the conclusion that this is the root cause of the problem, we would recommend using a decent USB hub, and ideally a TB/USB dock station which tends to offload a lot of responsibilities from our PC/MAC.
If the unit was working fine, and suddenly it couldn’t connect (it is not visible in the GConManager _CONFIG app) that could lead to the conclusion that some devices were added to our USB line, and we could have problems with the USB controller inside PC/MAC. In that case please check the description in the above “Unit disconnects by itself”.
GConManager in Admin mode enables special functionalities which are used during WesAudio units calibration.
Starting from GCon 15, Admin mode can be activated through the GCon Manager app:
- Open the GCon Manager app.
- Navigate to Settings.
- Click the padlock icon to unlock the settings.
- Check the Admin Mode box to enable it.
Alternatively, Admin mode can be activated by following these instructions:
OSX:
- Please open terminal.
- Copy-Paste following command:
open /Applications/WesAudio/GConManager.app --args --admin
WINDOWS:
- Go to “START” and open “Command Line”.
- copy paste this command:
"c:\Program Files (x86)\WesAudio\GConManager.exe" --admin

